Table of Contents
Edit Image Functions
The editing palette is quite powerful! Let's take a quick look at what each button does.
The editing palette is quite powerful! Let's take a quick look at what each button does.
Rotate
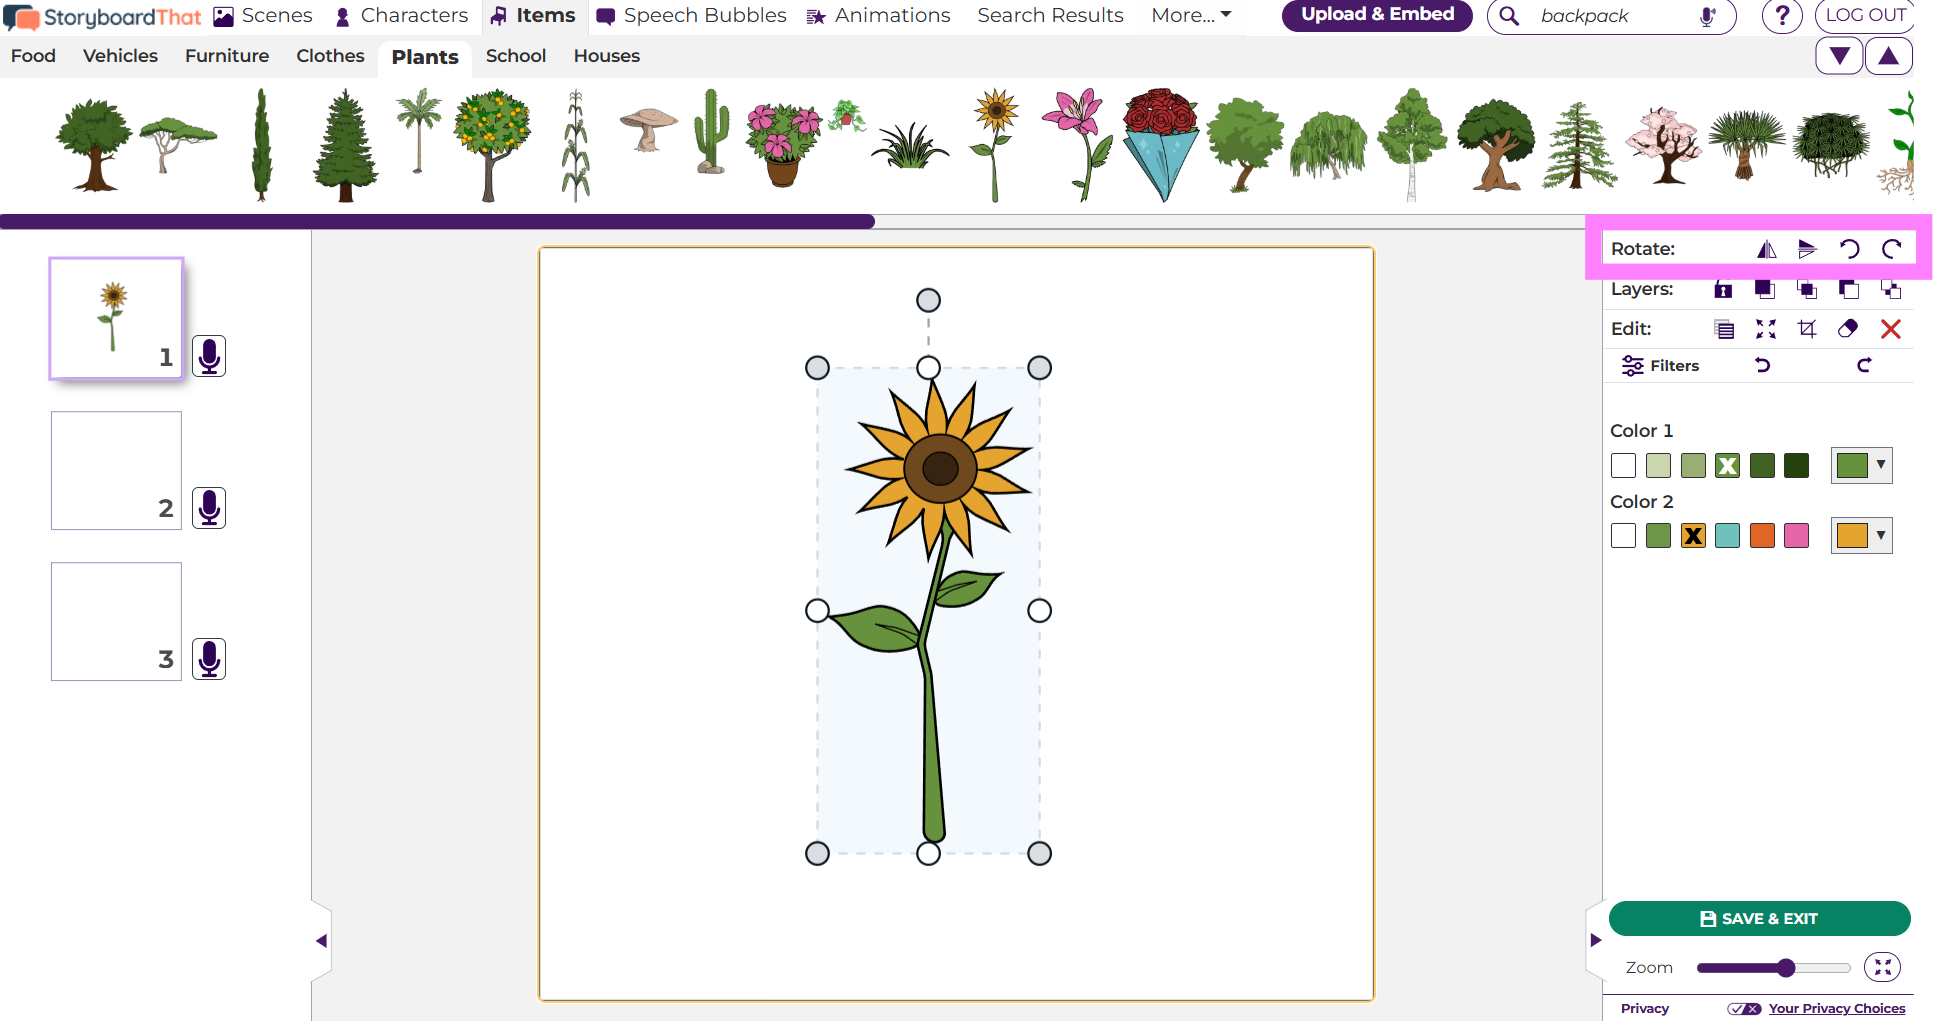
Flip or rotate the selected image.
Example: Flip Horizontally

Example: Rotate 90° Left (Counterclockwise)

Layers
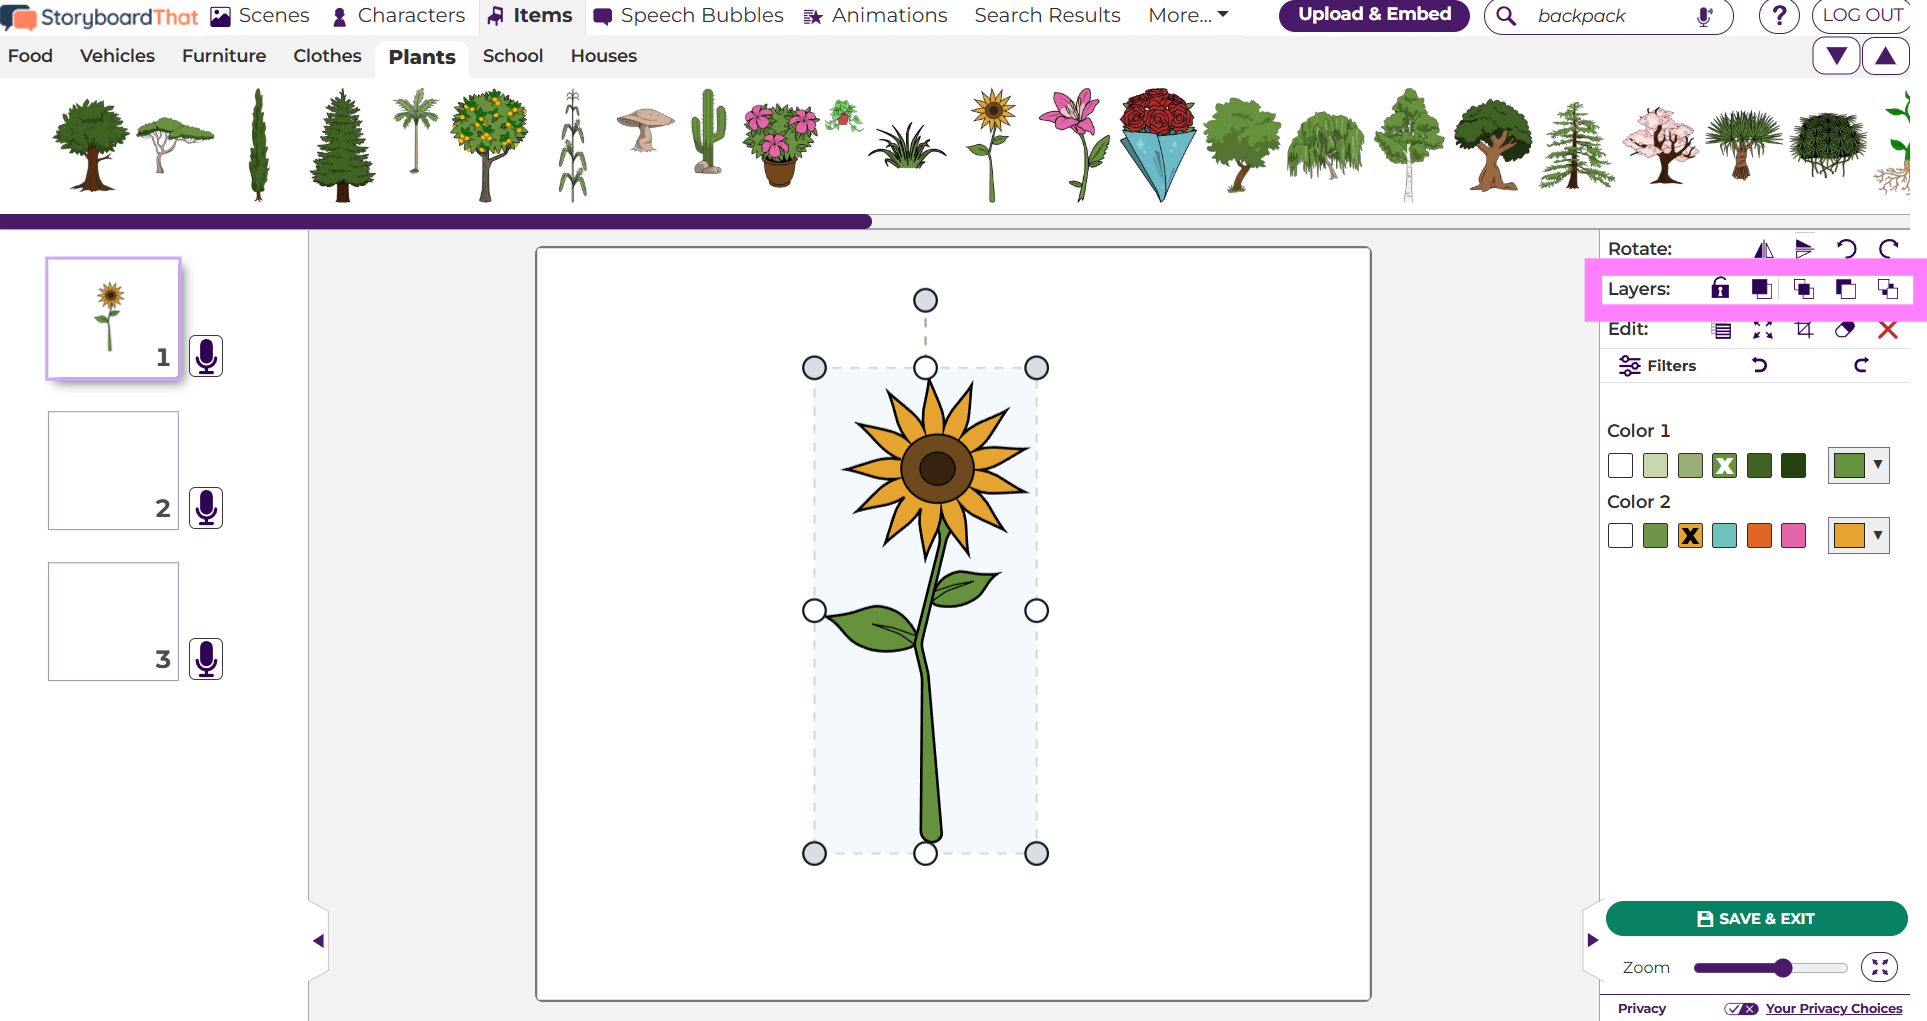
Lock
Click on the lock icon to "lock" an image into place. When an image is locked, you cannot move the image until it is unlocked again.
Example: Send to Back
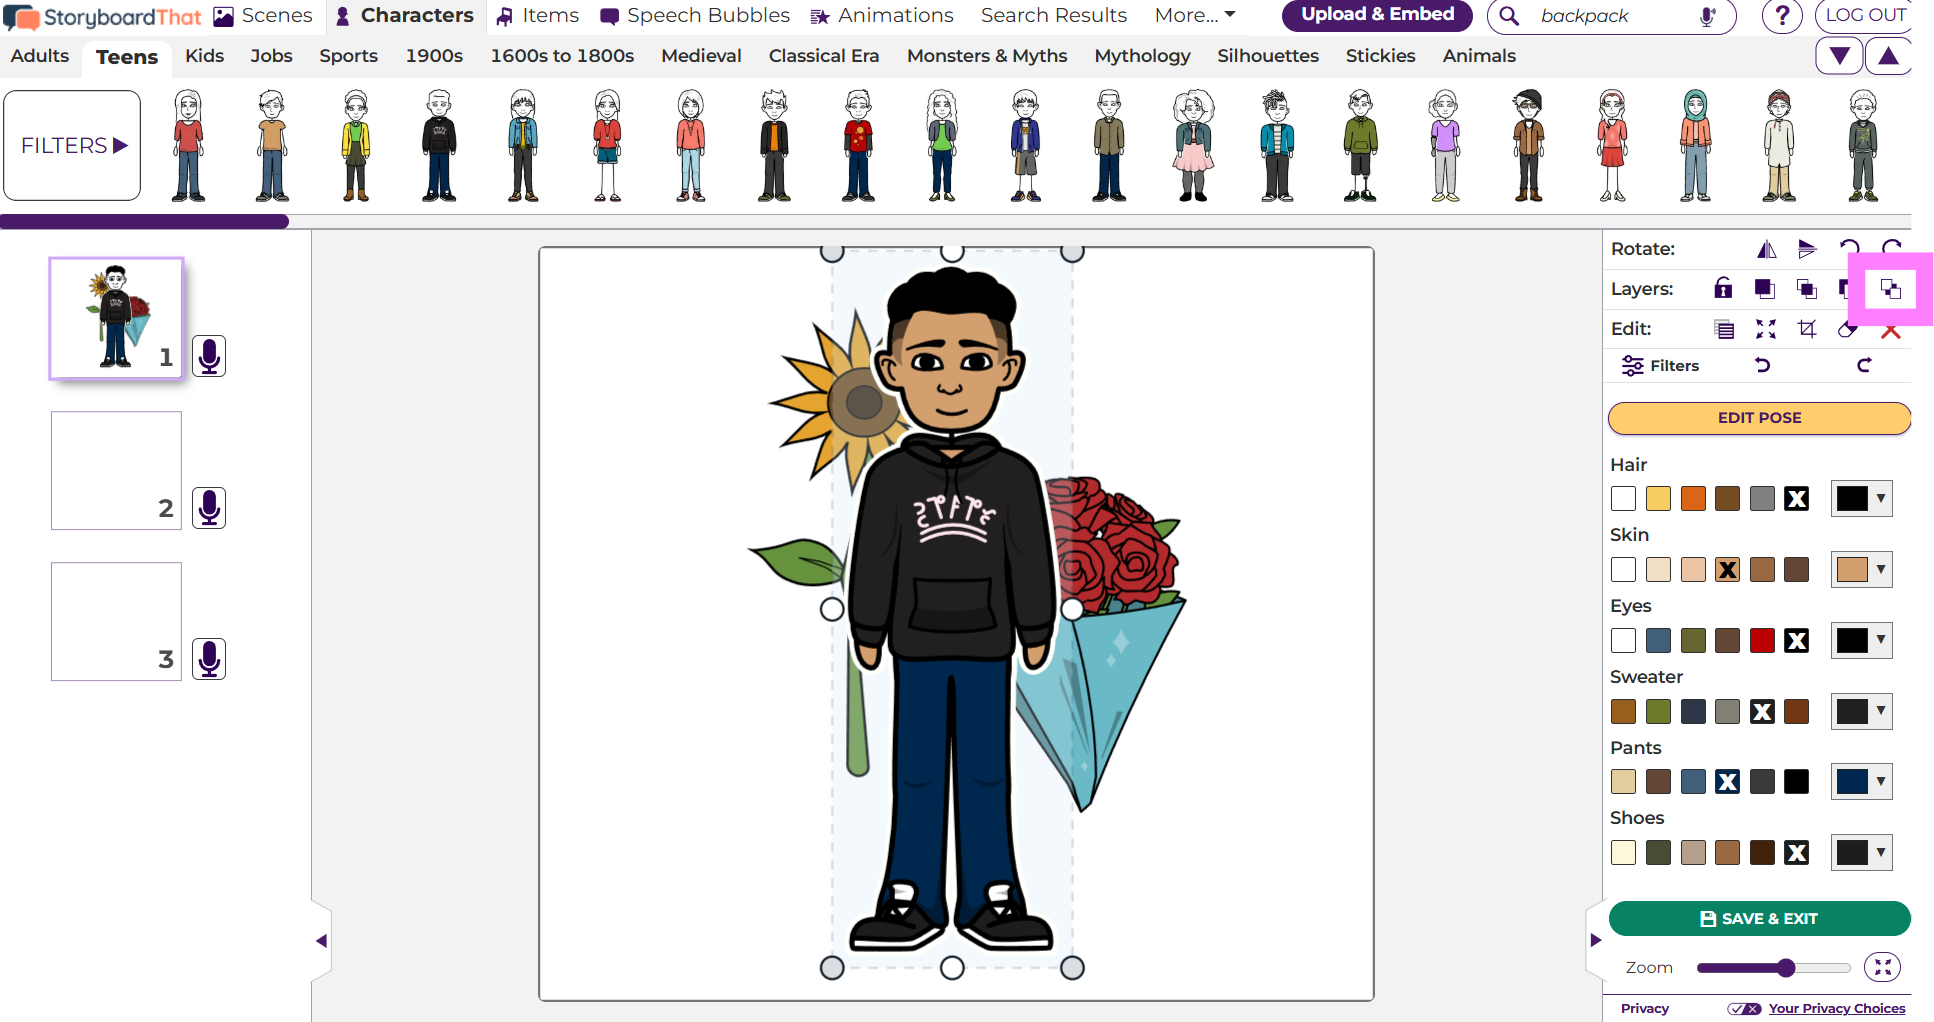
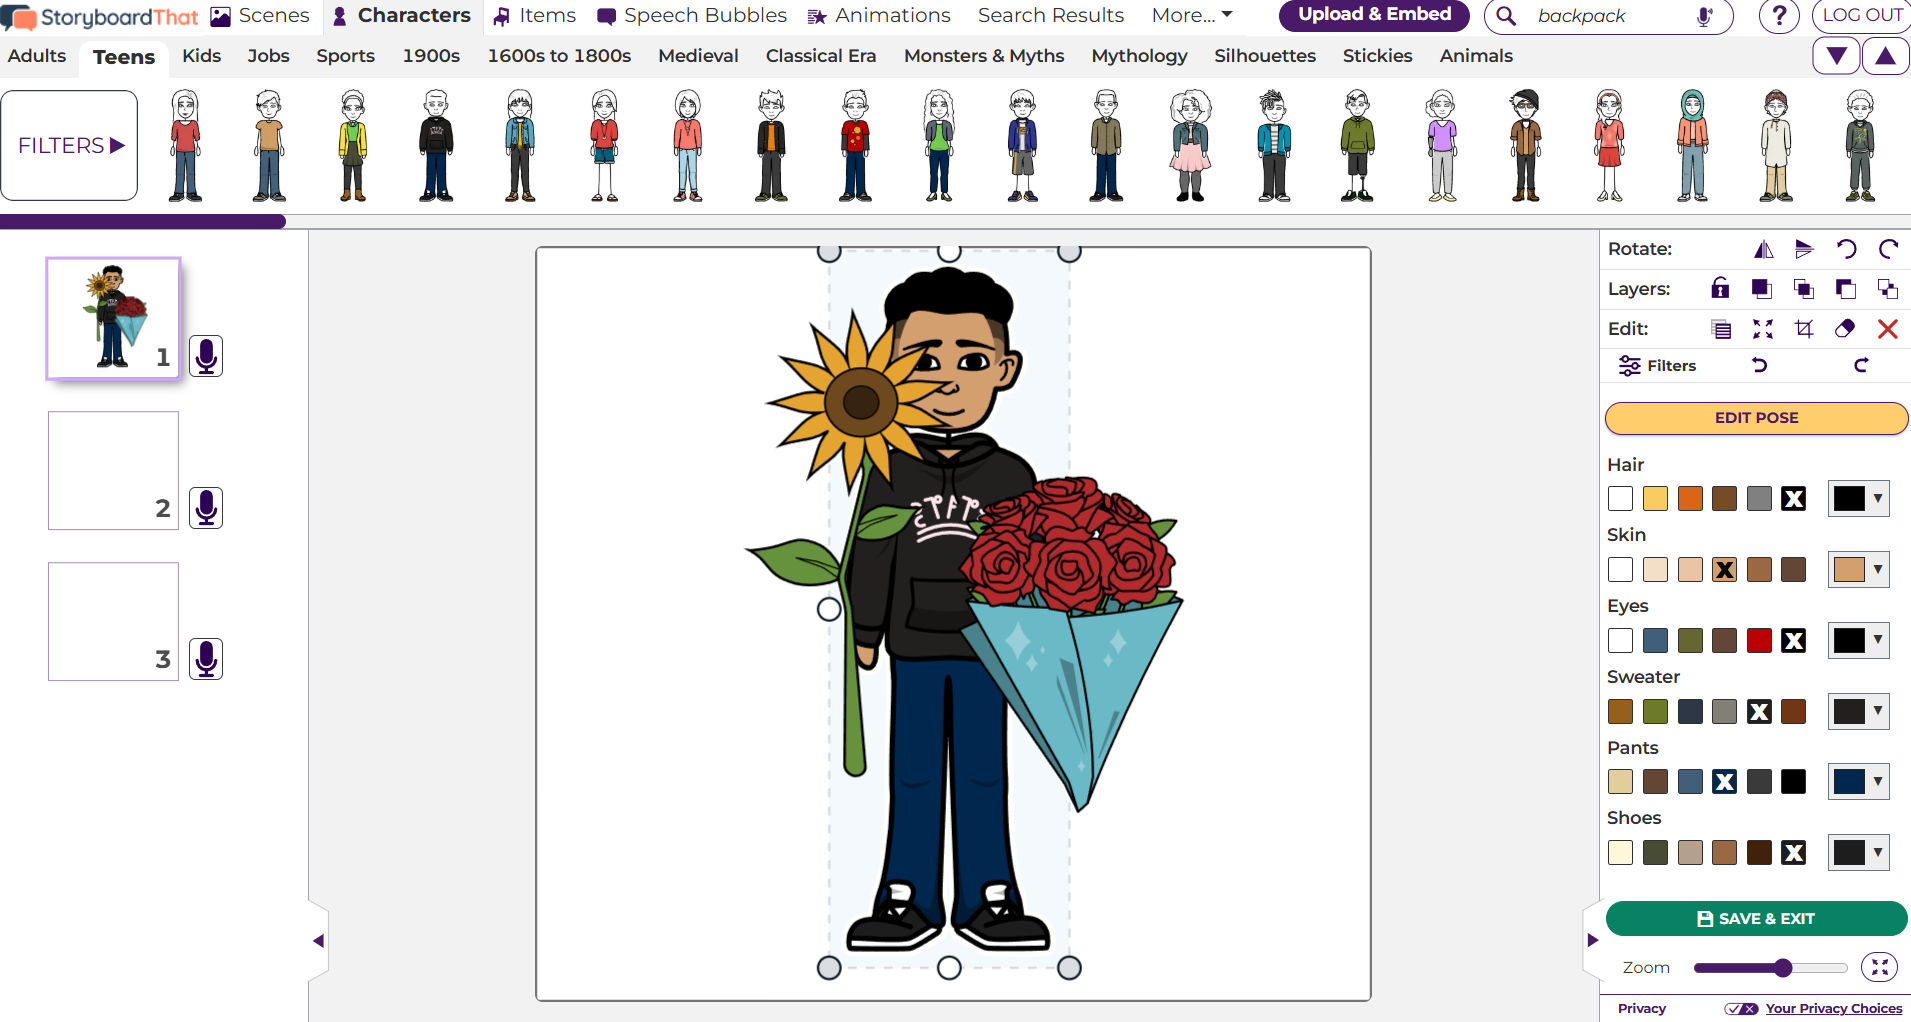
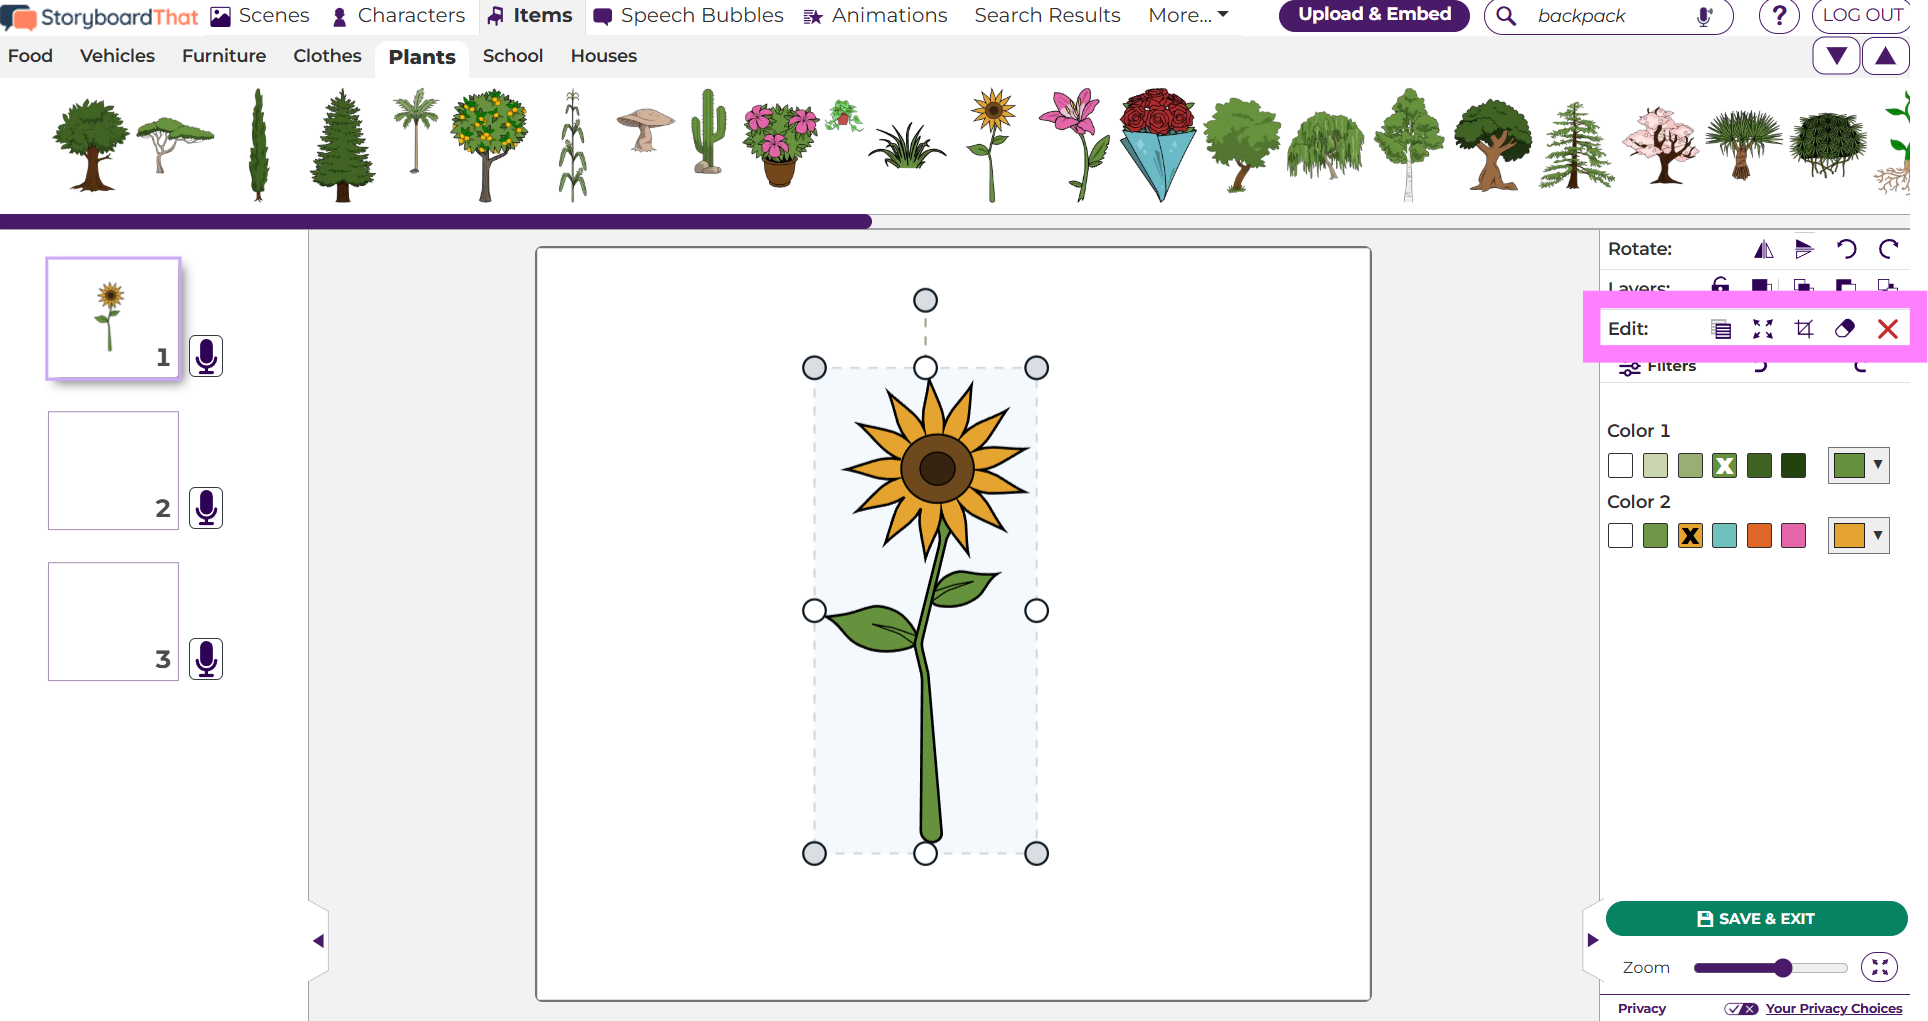
Edit
There are several critical features in this row of the editing palette.
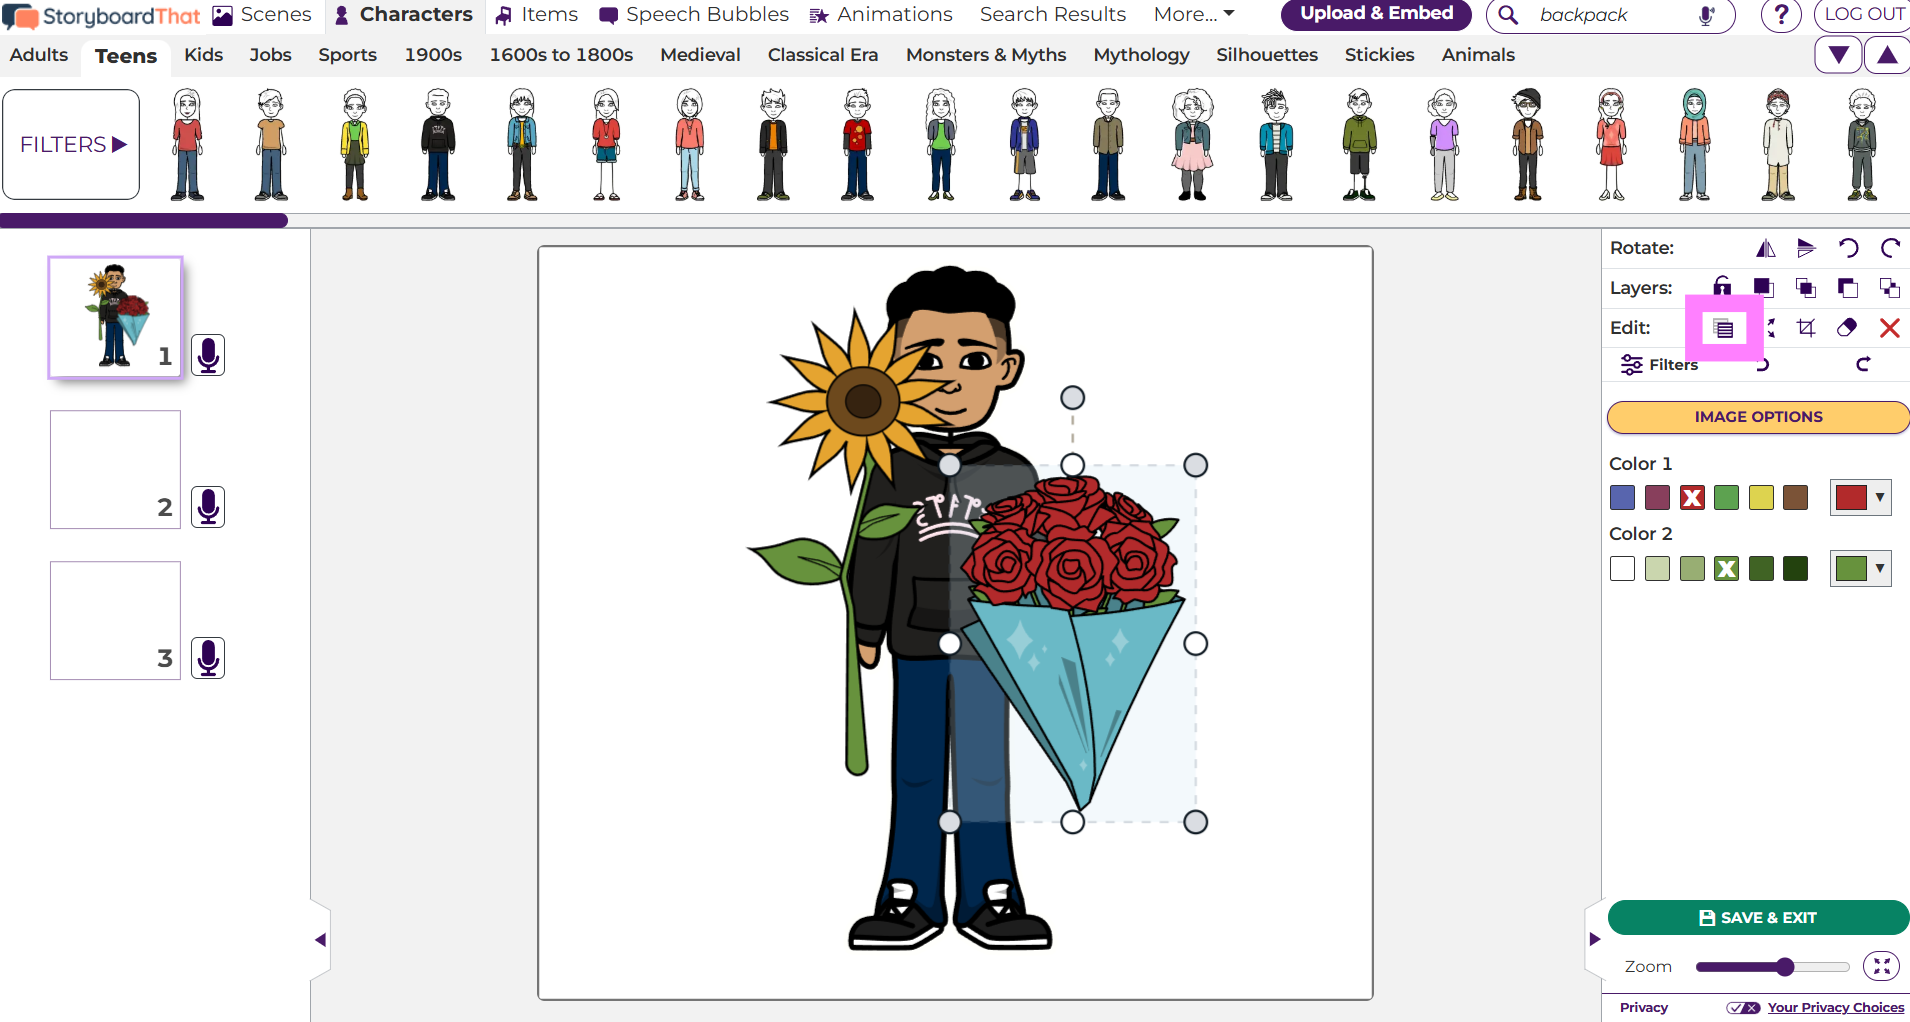
Copy
Make a duplicate of the selected item(s). All customizations, such as color, pose, crop etc., stay intact!
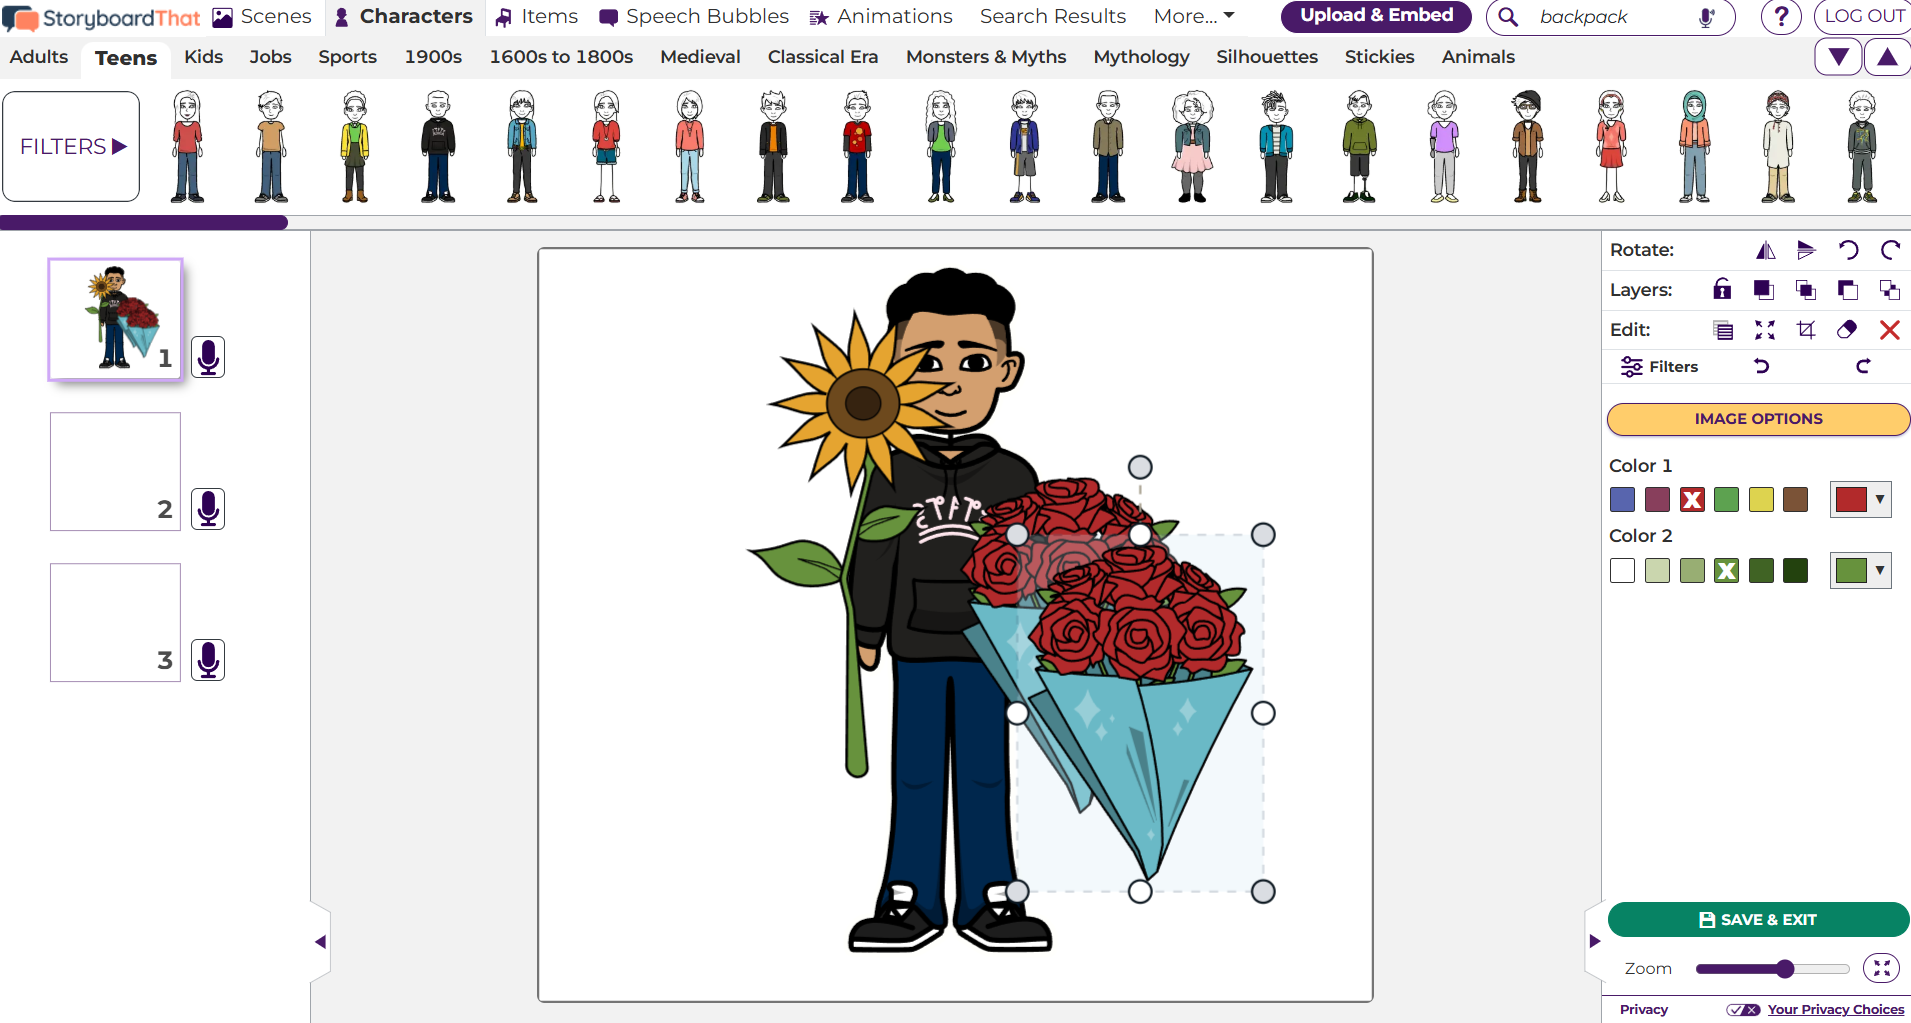
Stretch to Fill
Stretch the image in order to fill the entire cell. Choose how you would like the image to fill the storyboard cell by selecting the different Stretch to Fill options. A preview will display on the right. Click Let's Go when finished.
Stretch to Fill is best used with cropped scenes.
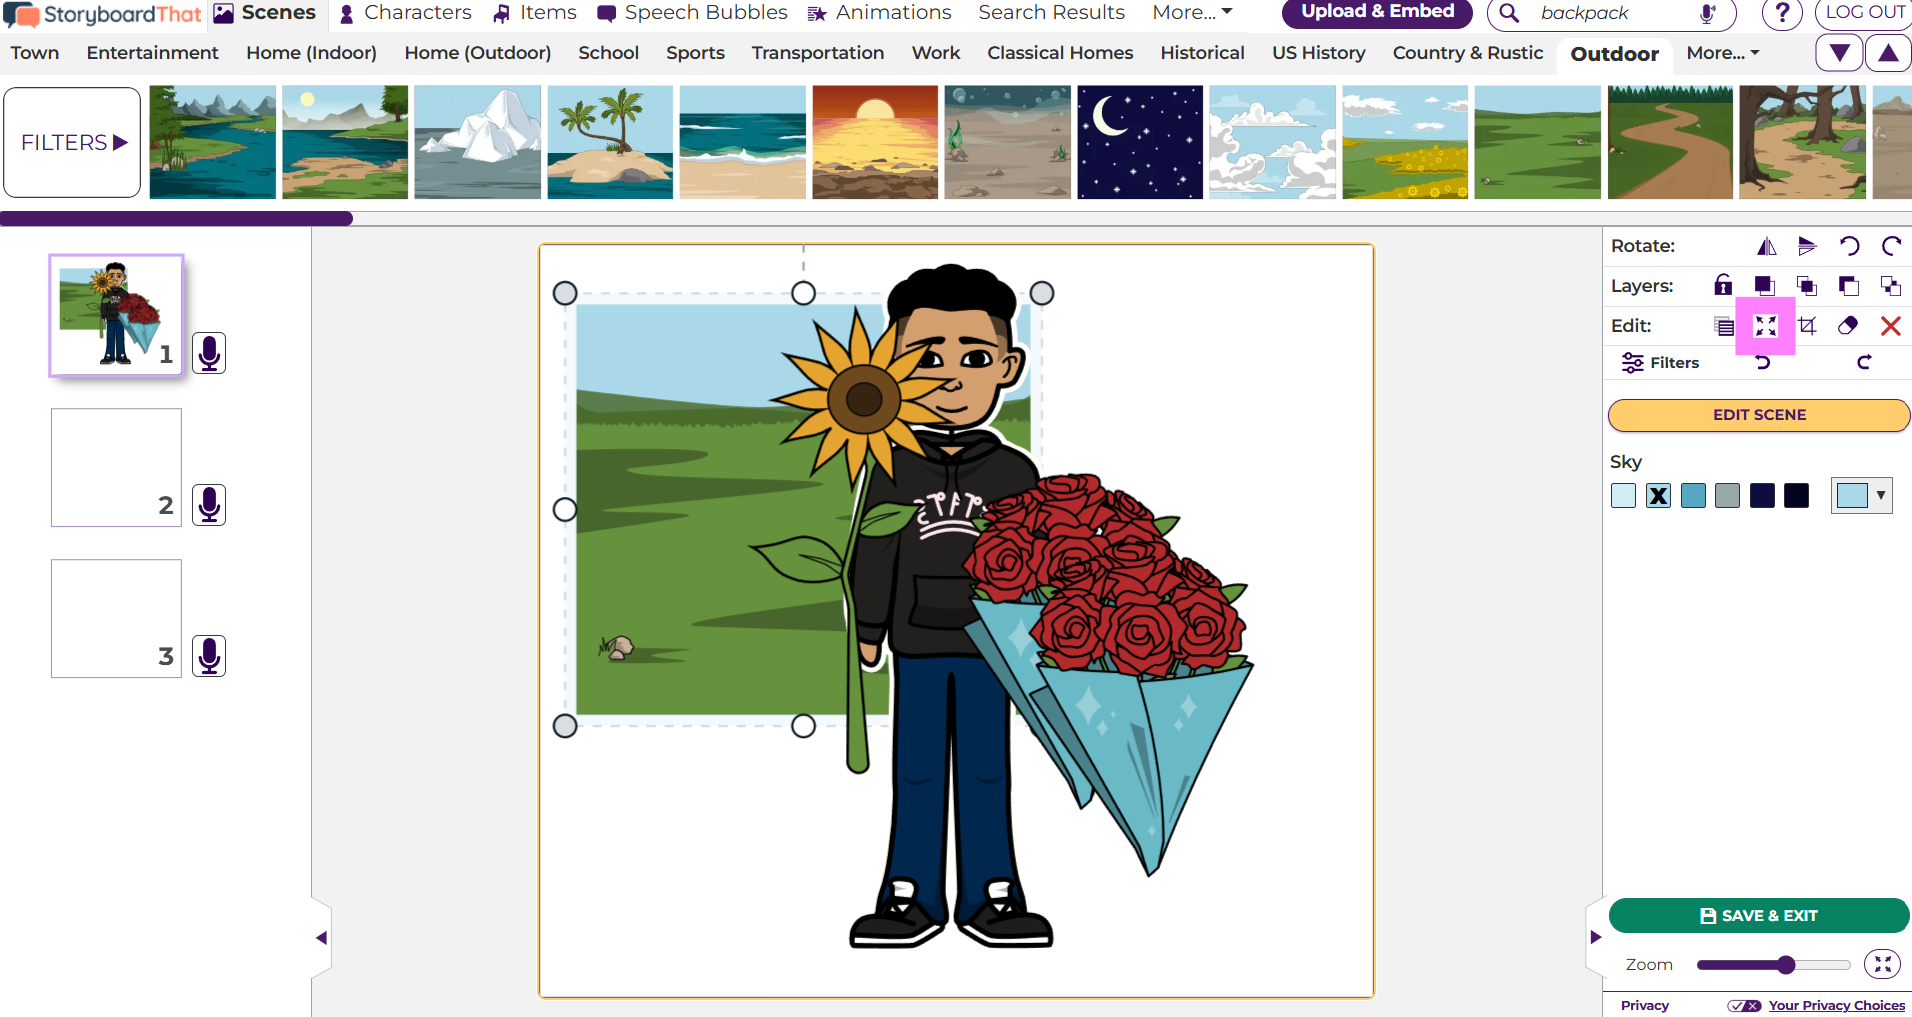

Crop
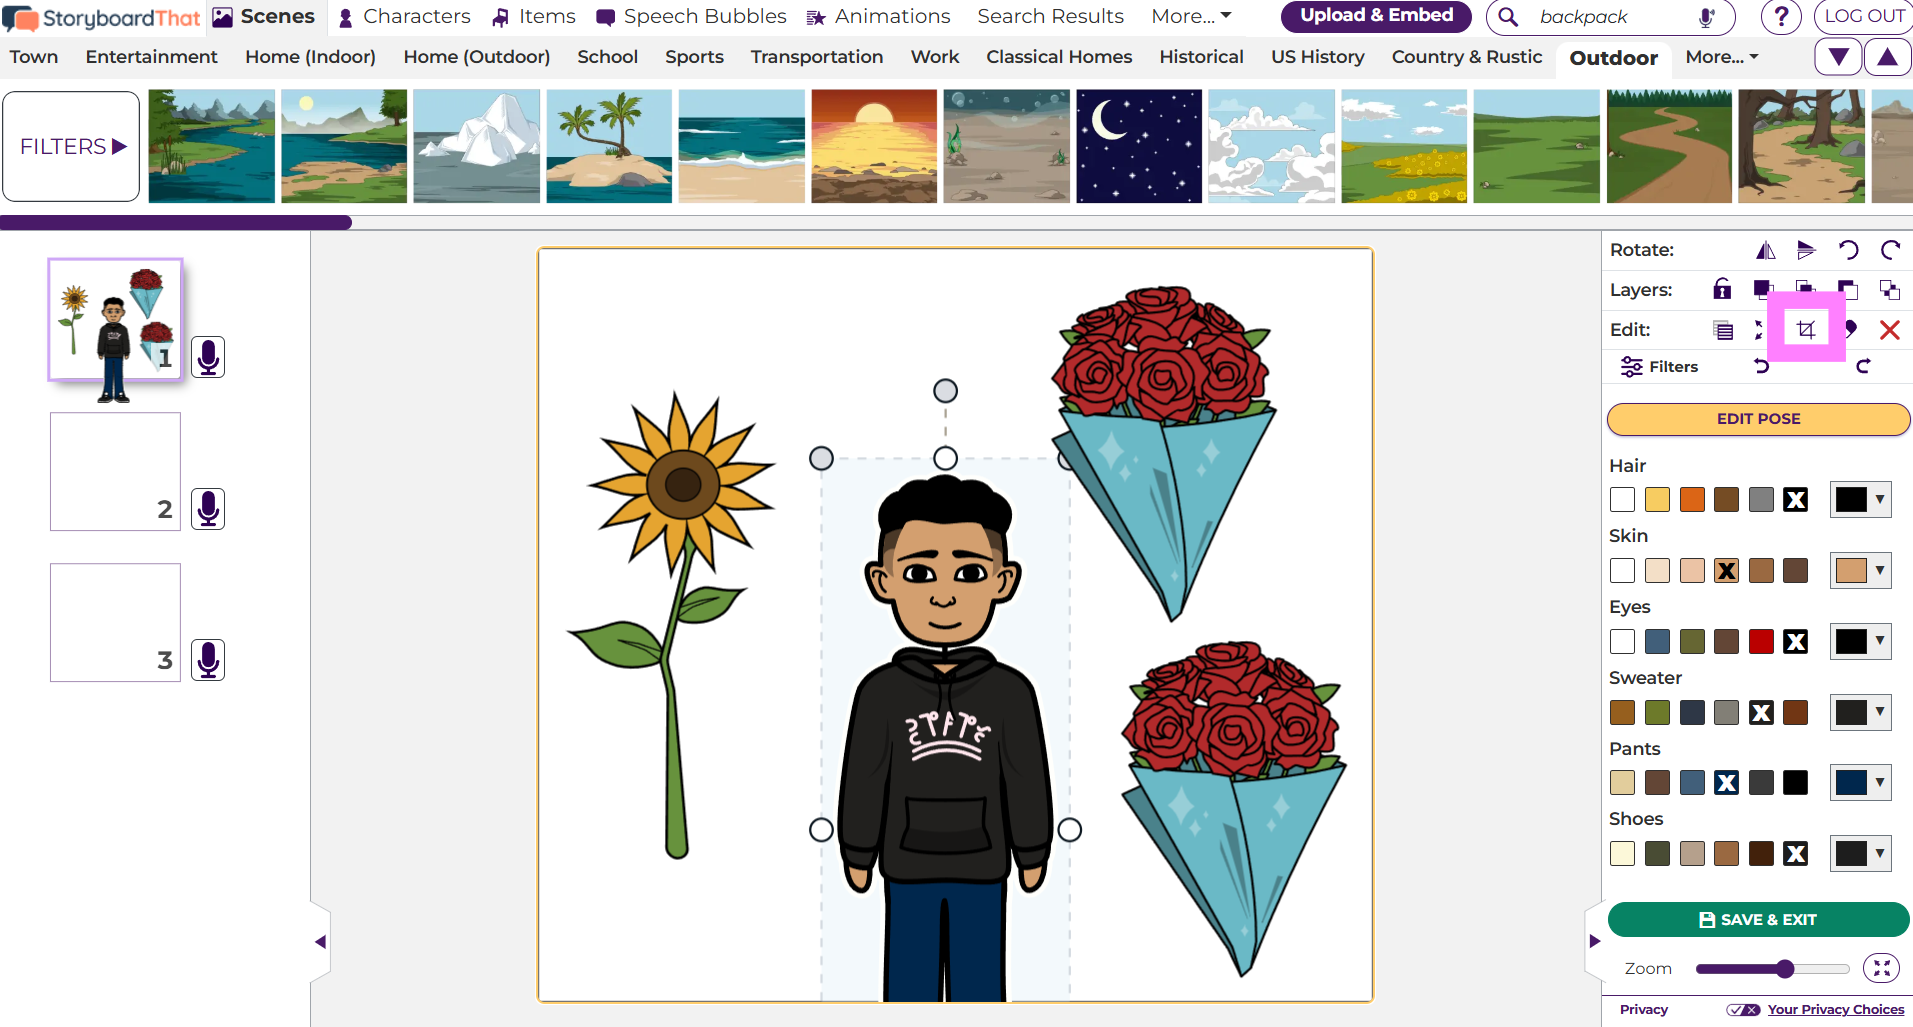
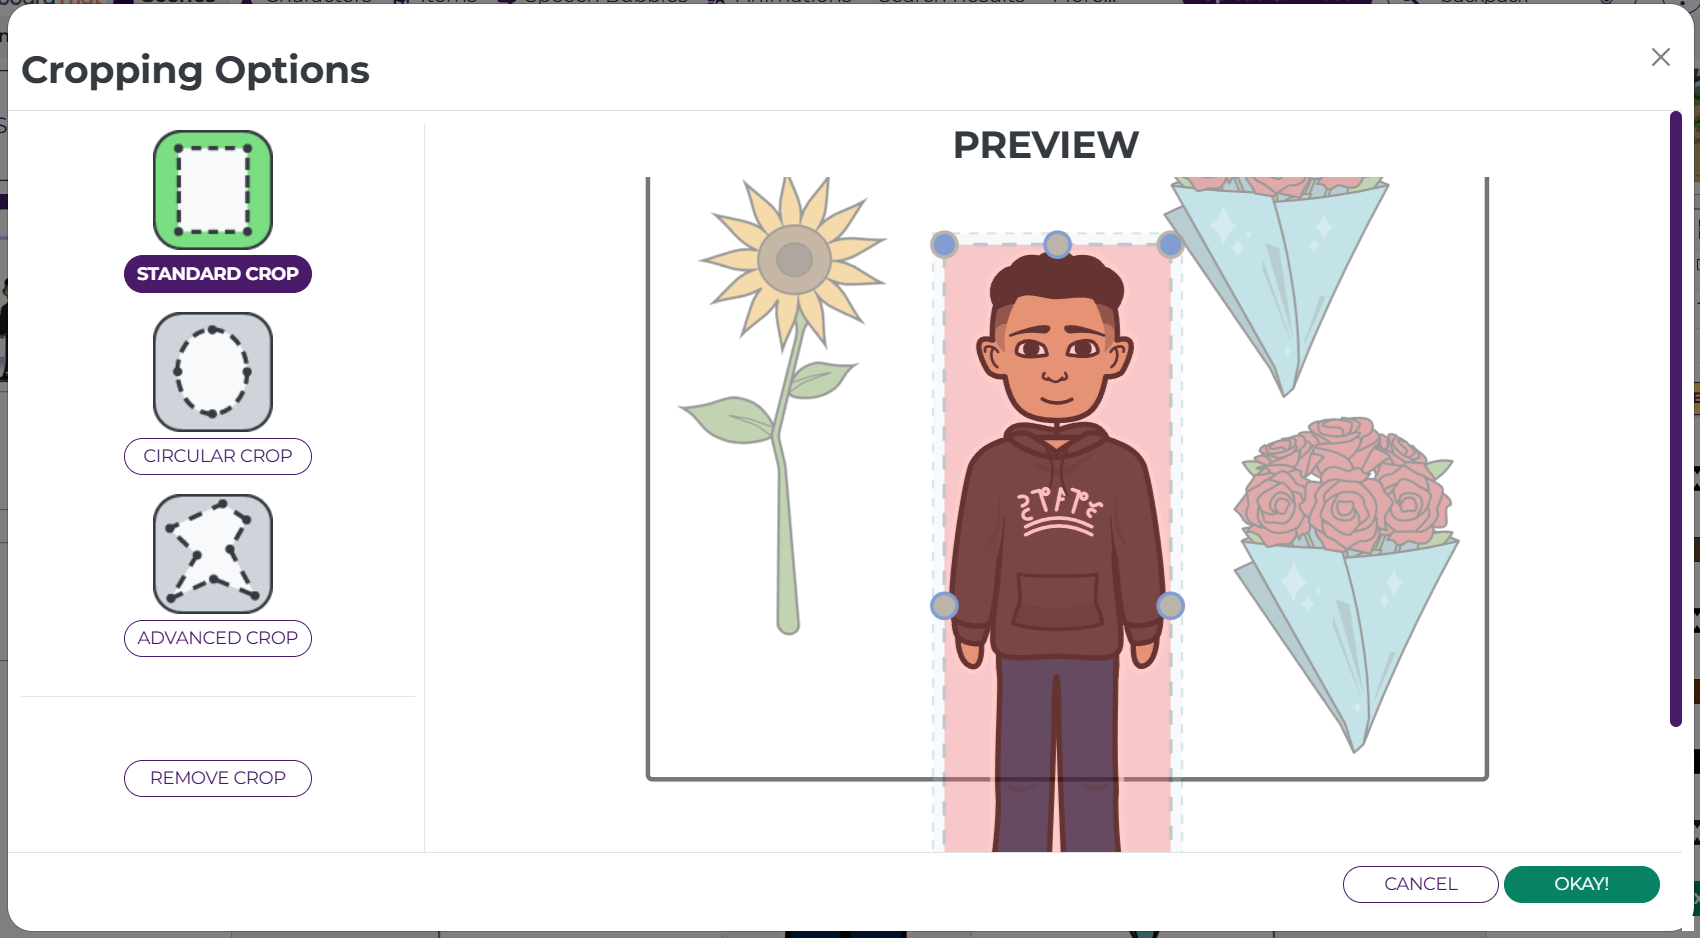
Move the bounding box handles (the blue and gray circles). When you are happy with your crop, click Okay!
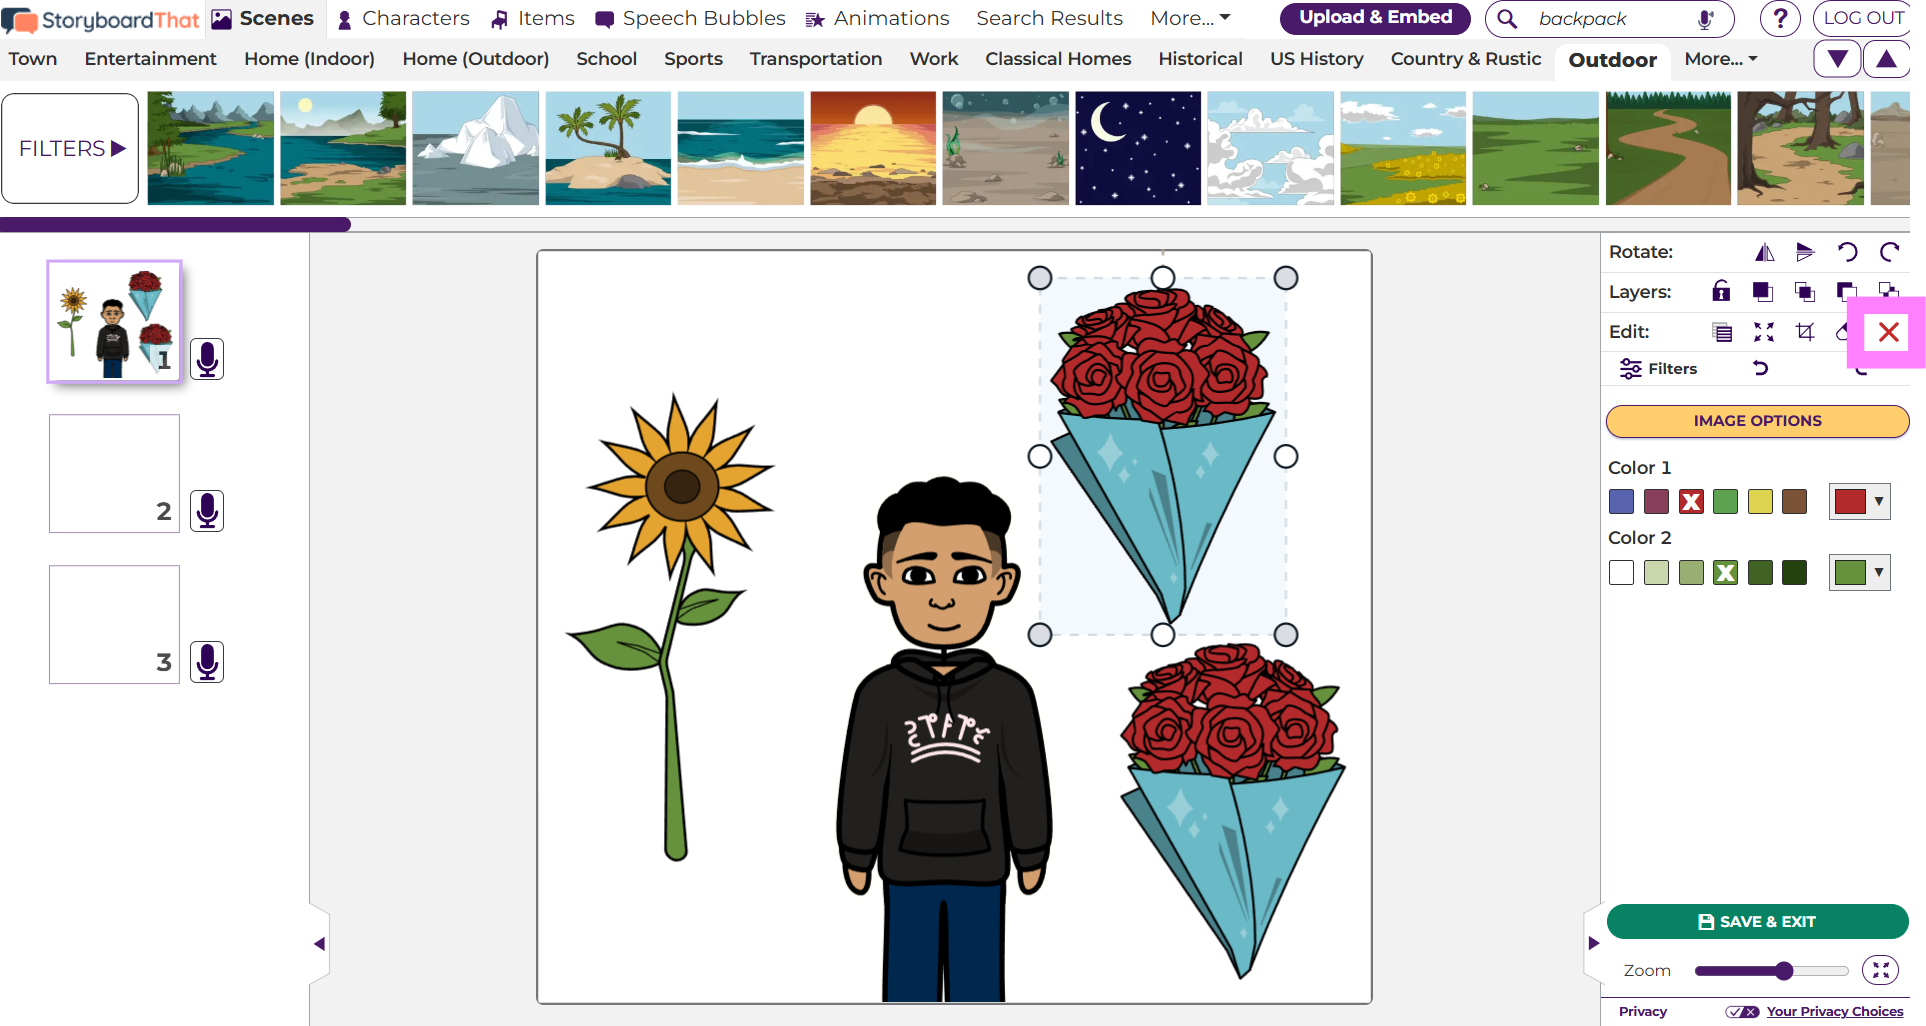
Delete
Click on the big red X to delete selected image(s).
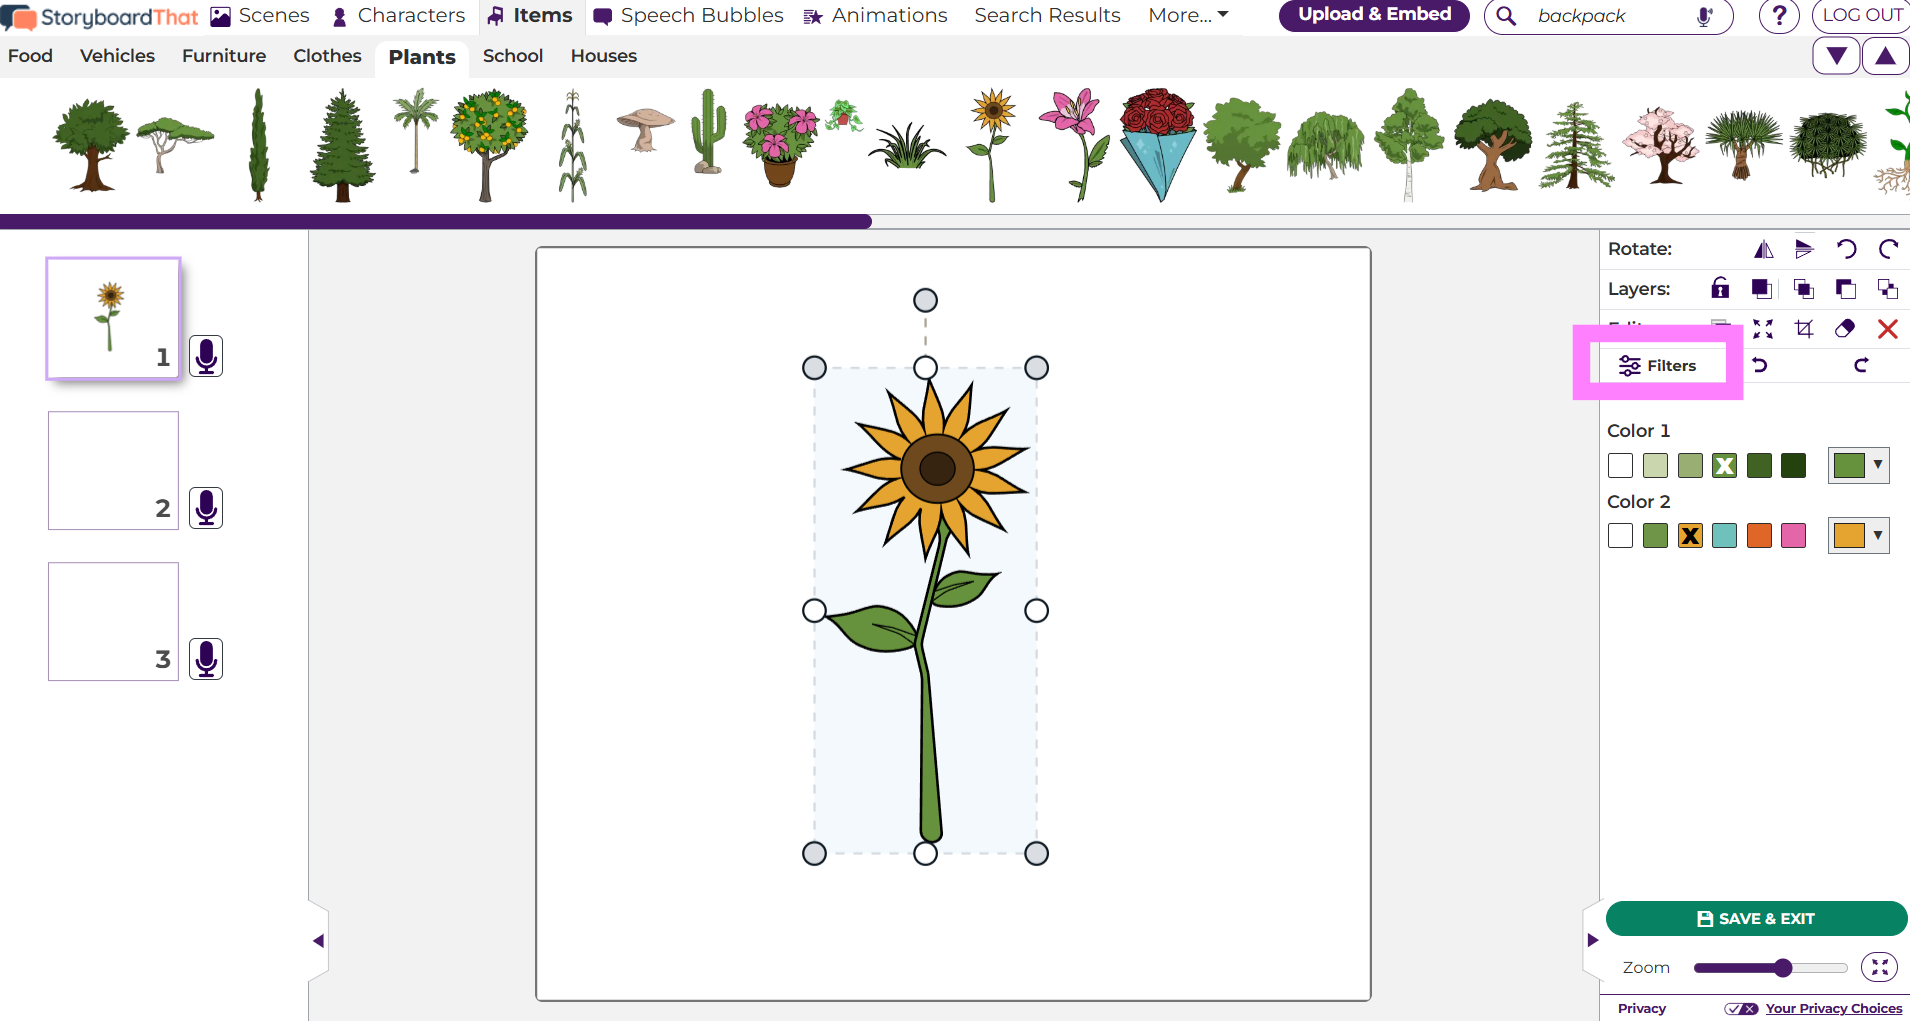
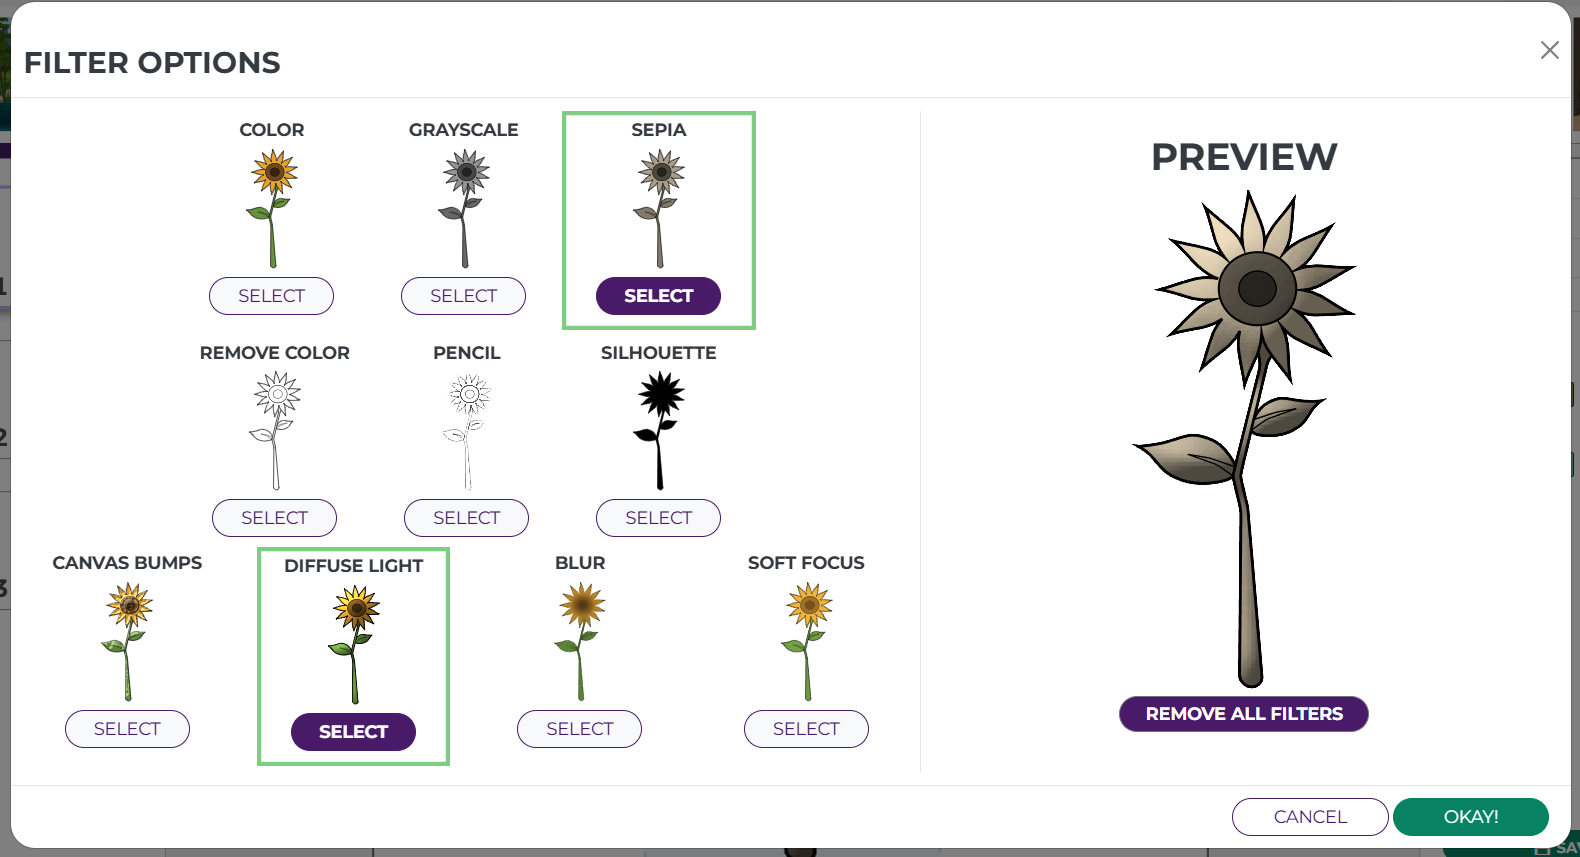
Filters
Change the way selected objects look by applying a filter.
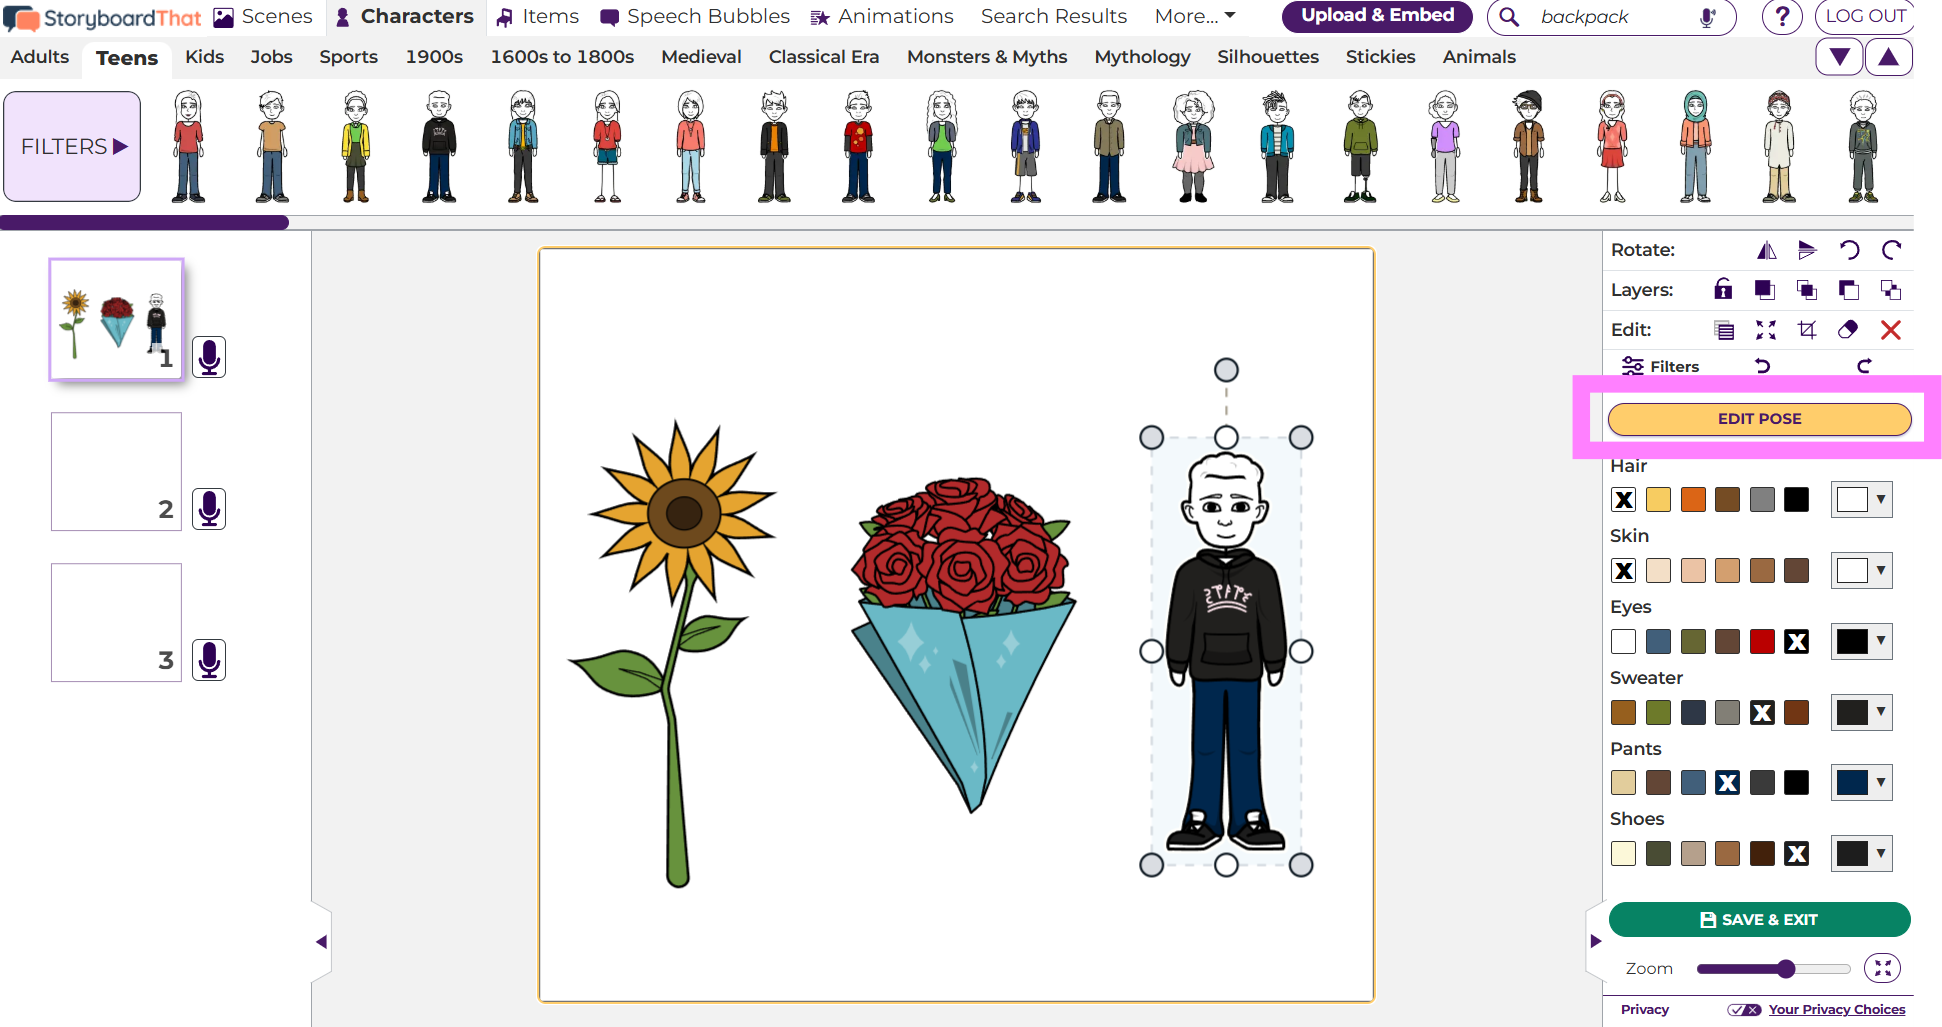
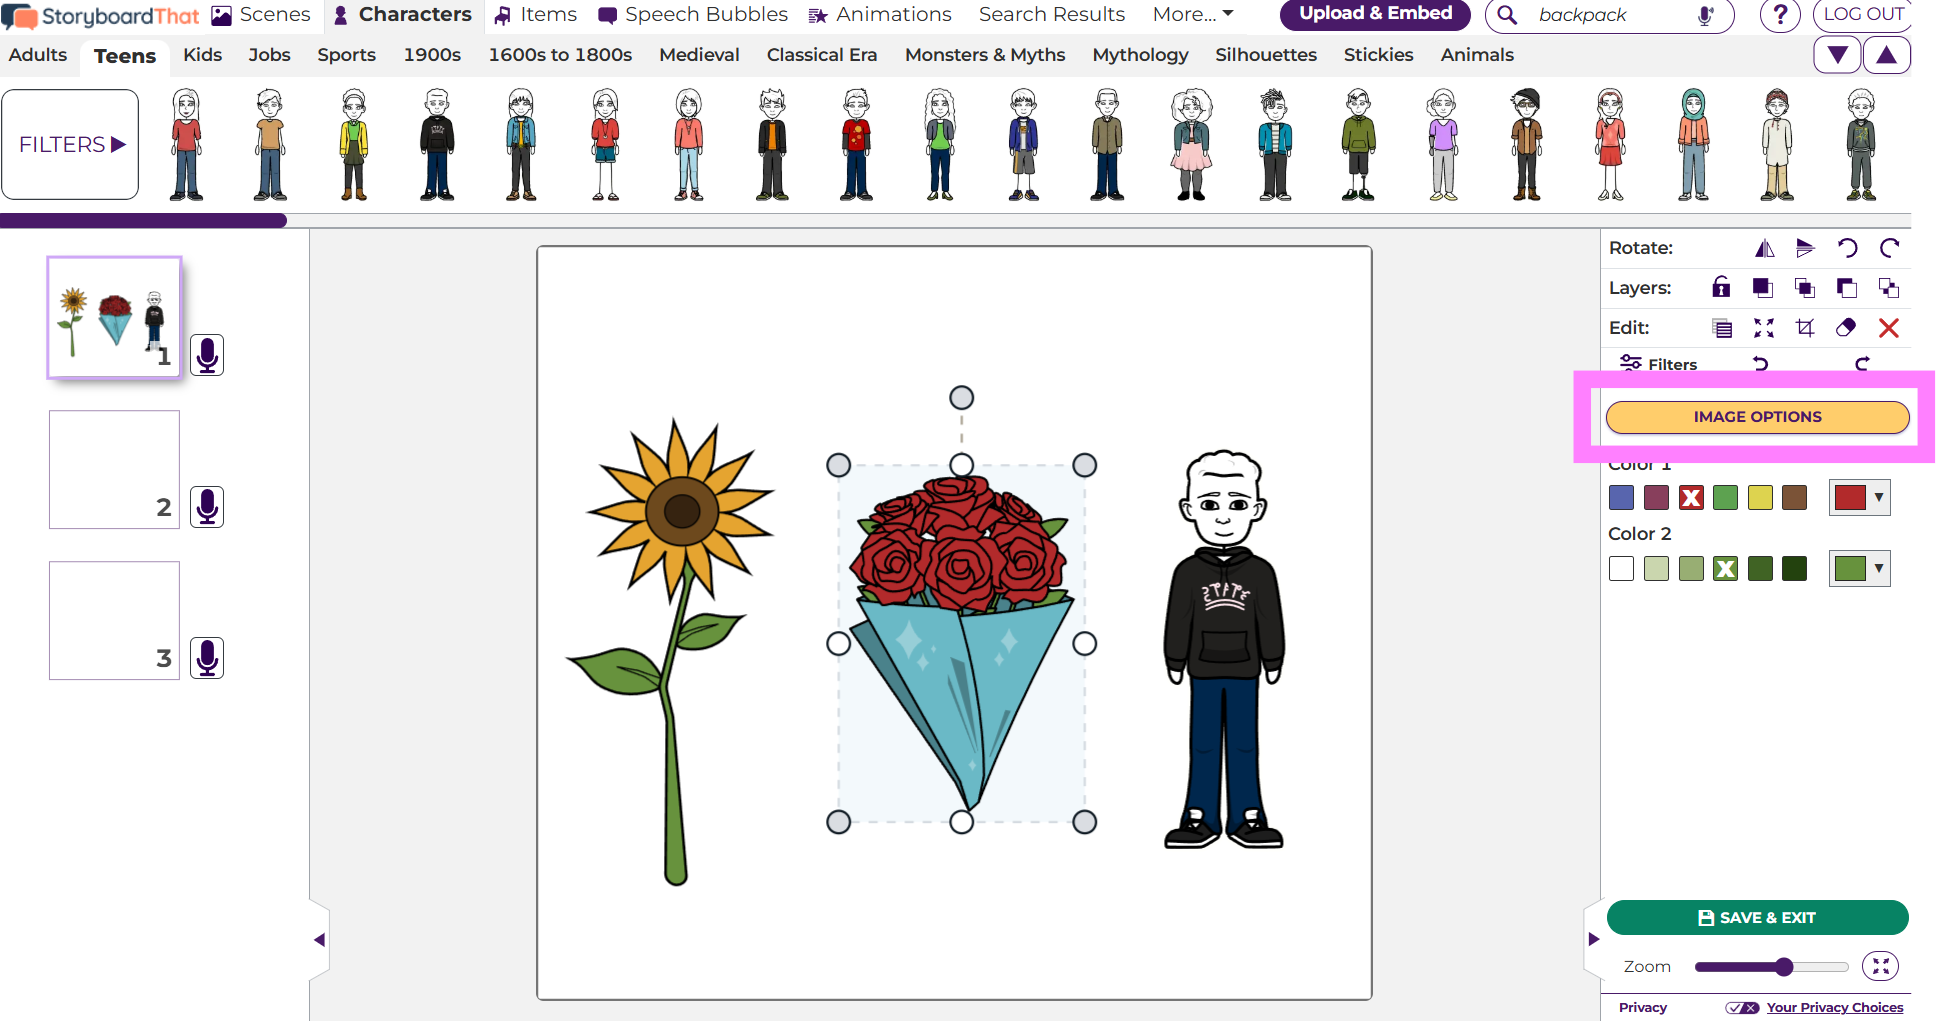
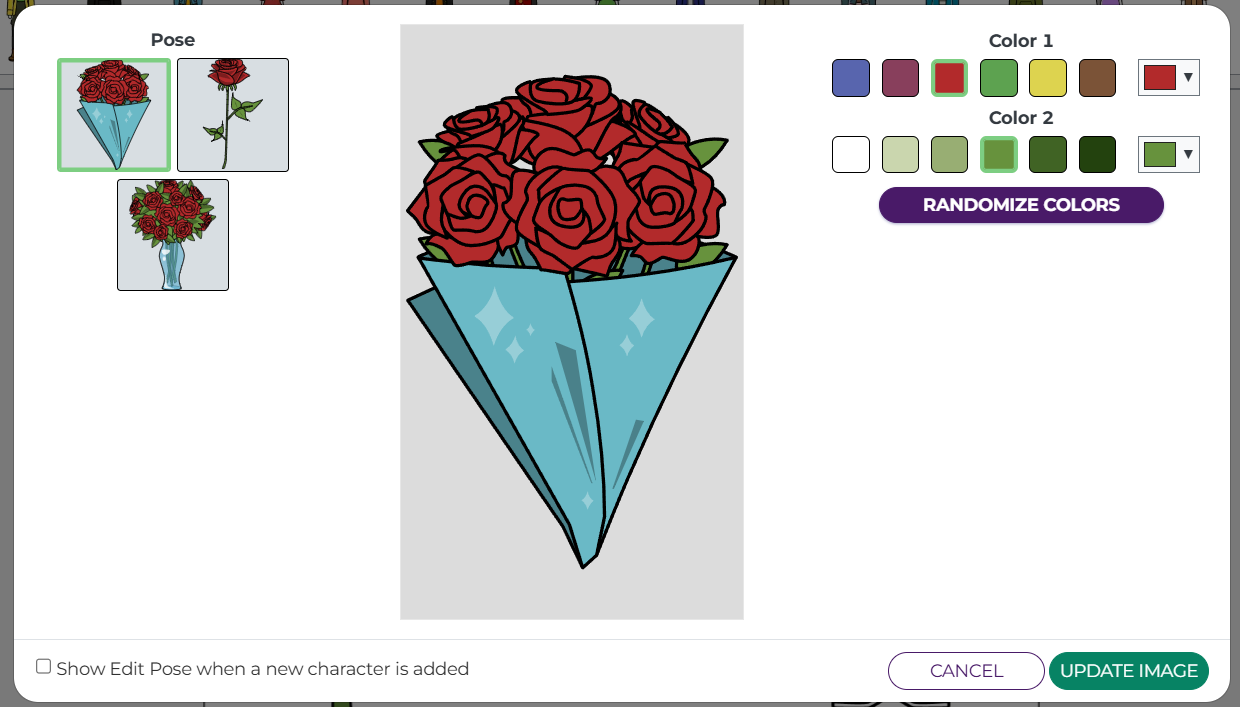
Edit Pose or Image Options
Change the pose of the character by selecting from the available options. Some objects have image options as well.
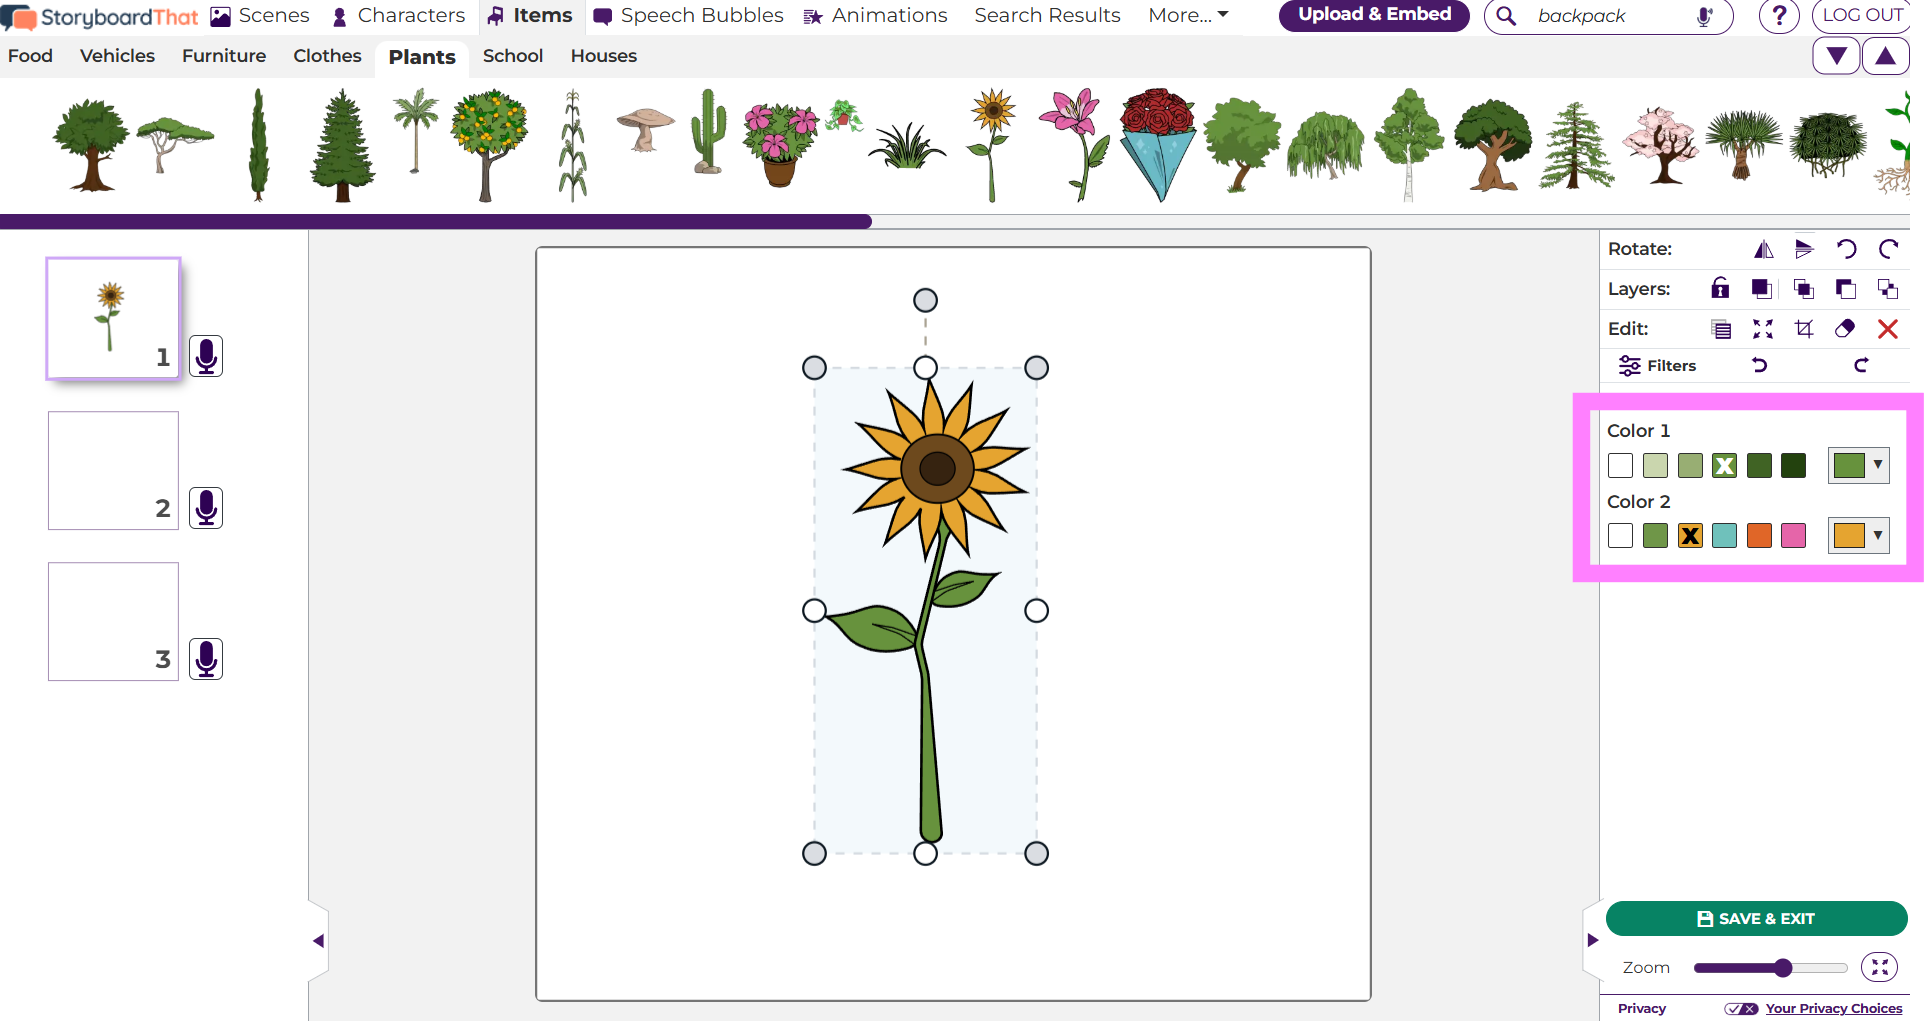
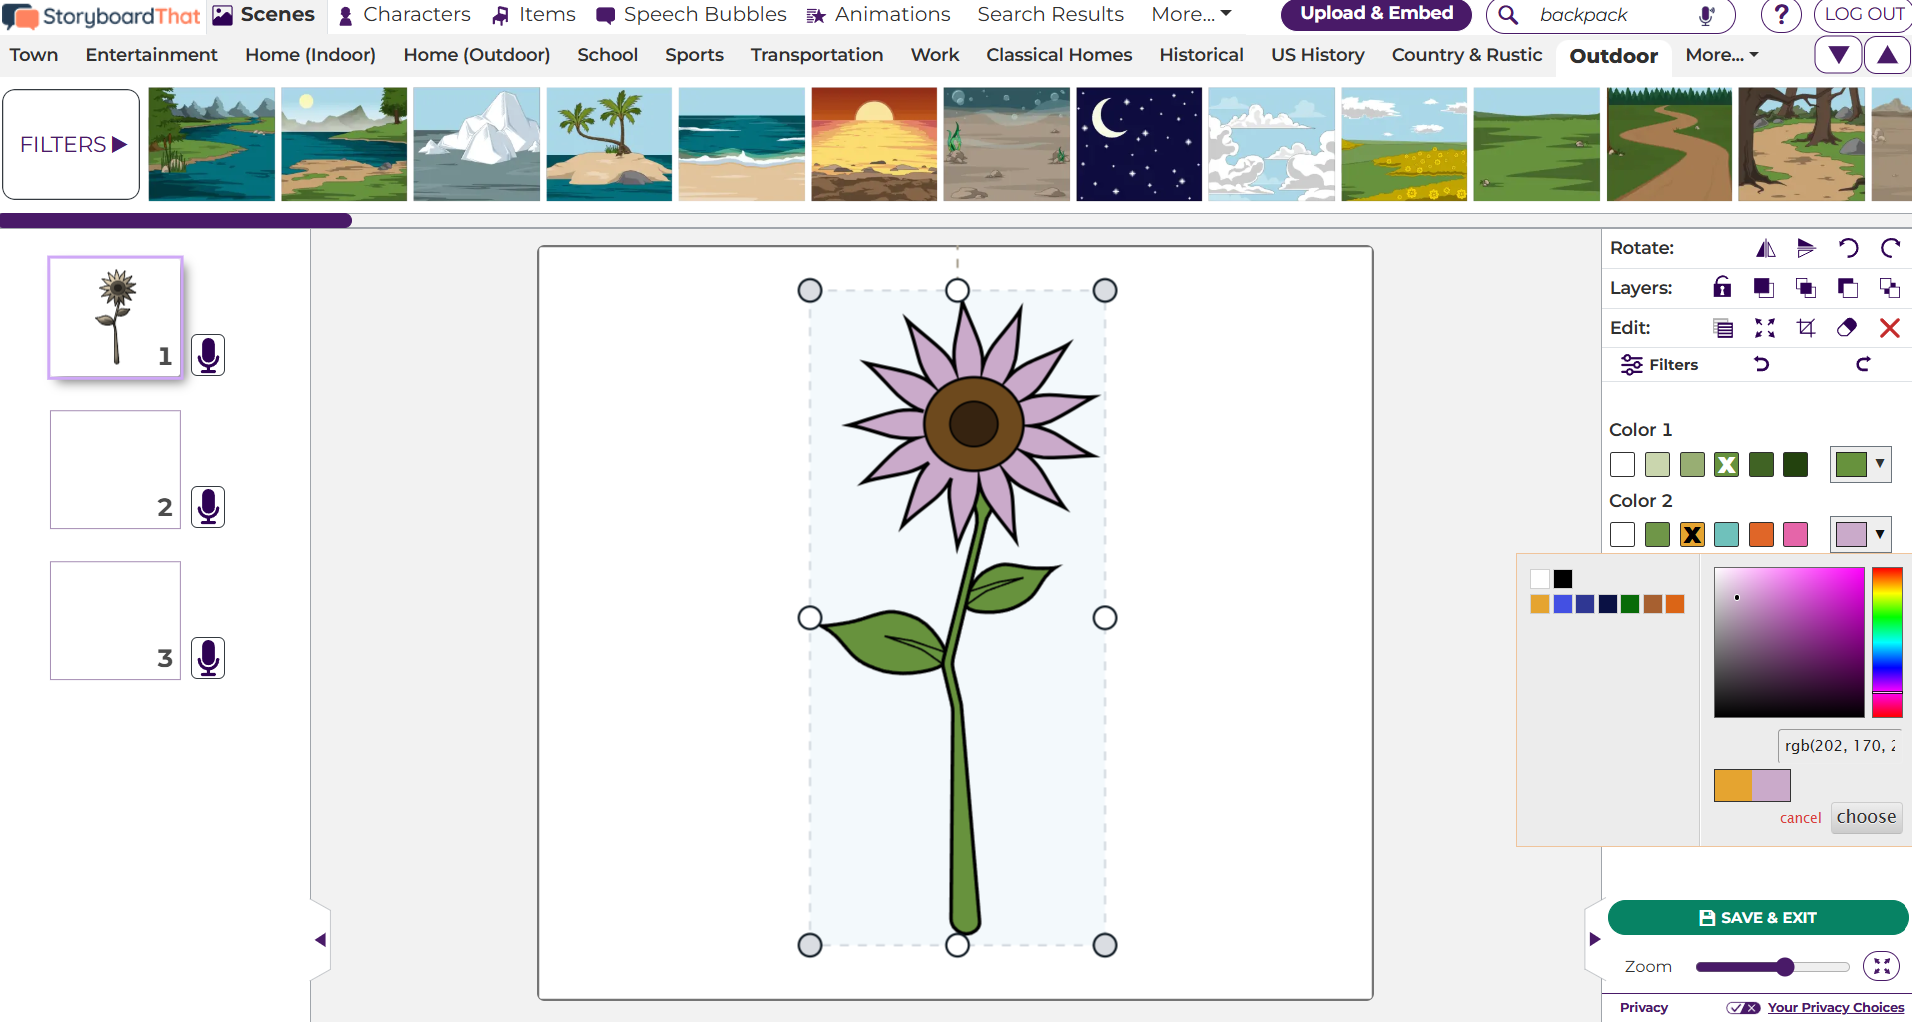
Colors
Use the default color palette, or customize the color completely! You can also add in both RGB and HEX codes.
How did we do?
Change Colors
Multi-Select Images