How to Create a Storyboard
Learn how to create your first Storyboard, and check out our guided video!
Create a Storyboard
Check out these step-by-step instructions on how to create a basic storyboard. You can choose your own scenes and characters or follow along with the example.
1. Open the Storyboard Creator
You can get to the Storyboard Creator by clicking any of the Create a Storyboard buttons on your dashboard or around the site! Once opened, you will be prompted to give your new storyboard a name!
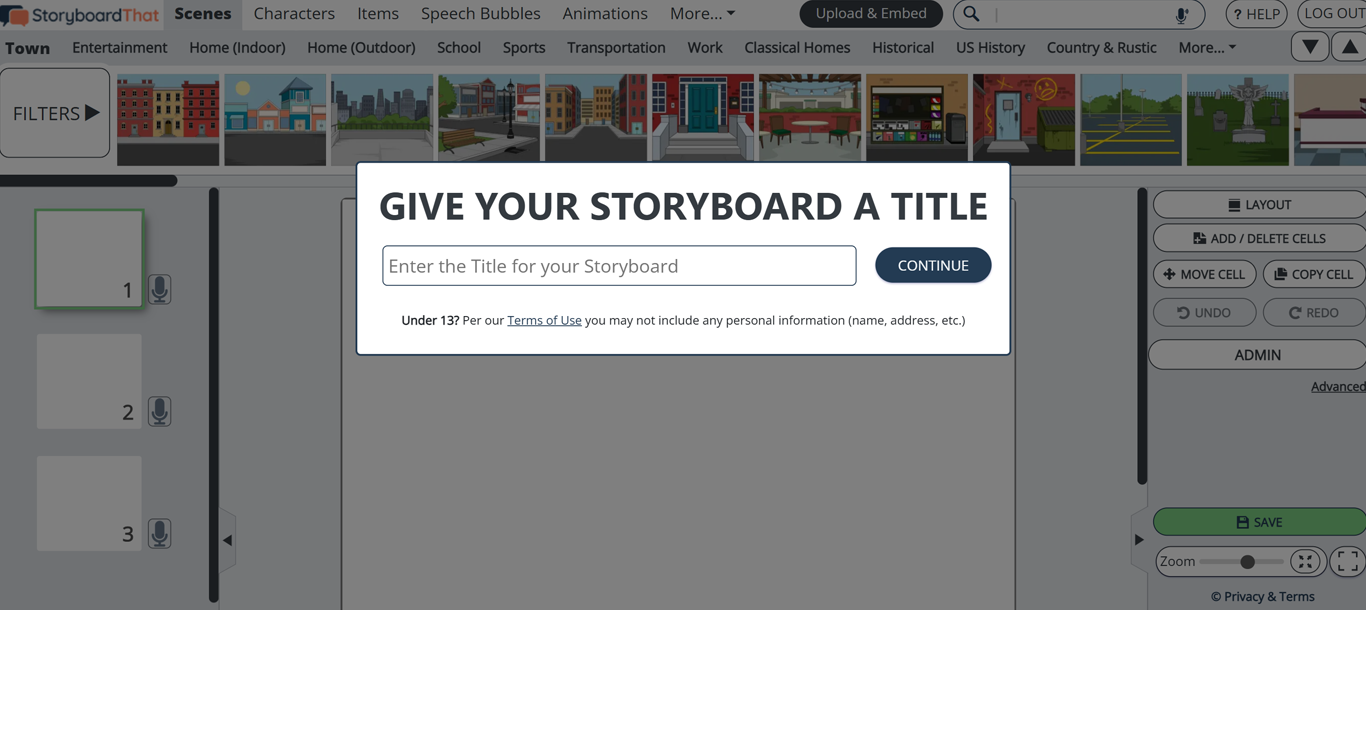
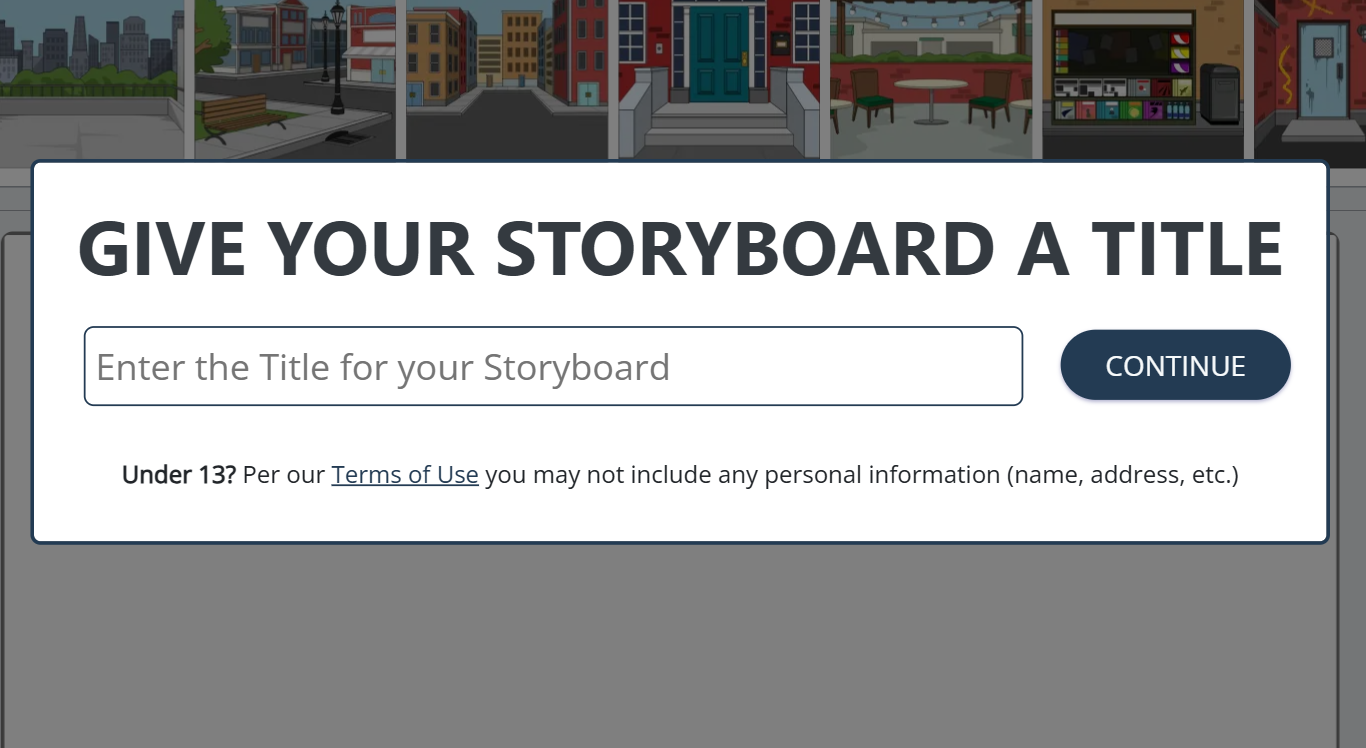
2. Give Your Storyboard a Title
Type in what you would like the title to be and click Continue.
After naming your storyboard, it is now saved in your account under My Storyboards and will continue to save in real time as you work!
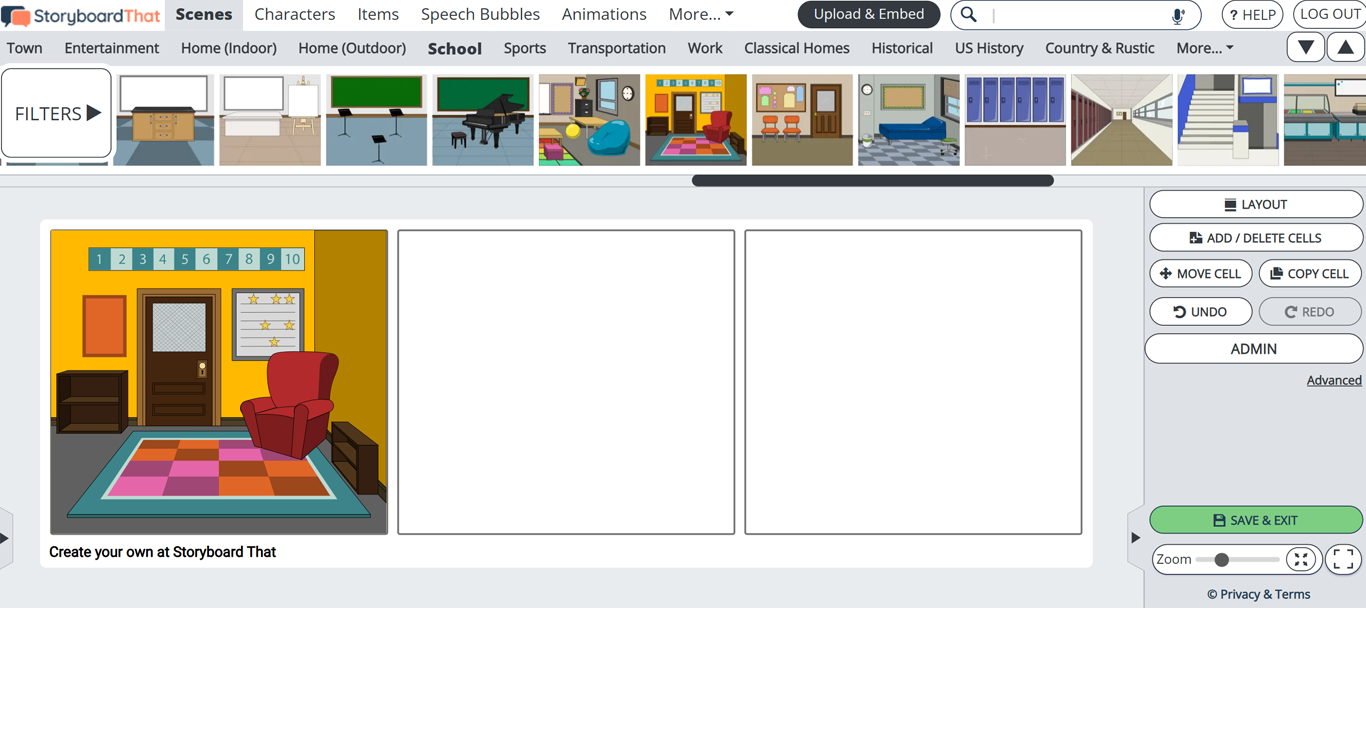
3. Choose a Scene
Time to start creating! Select a scene and drag it down to a cell. Change up the colors if you want!
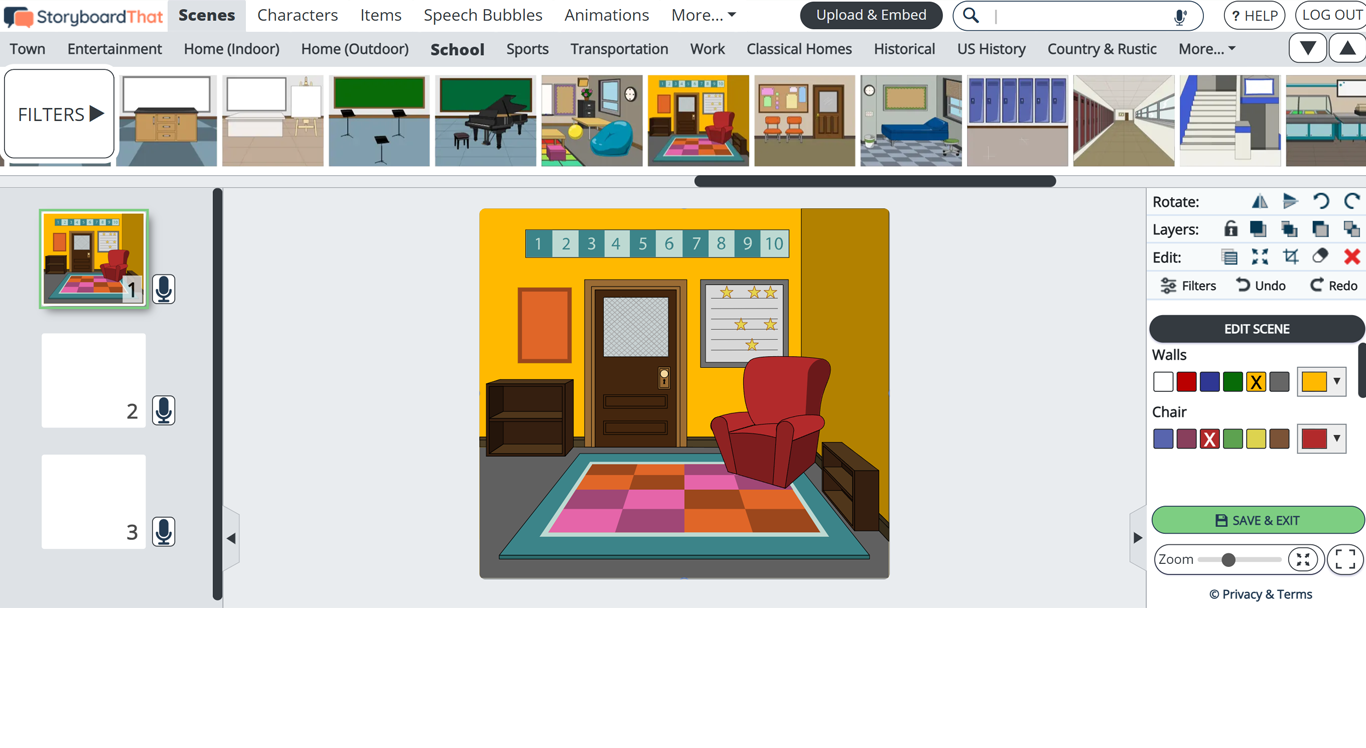
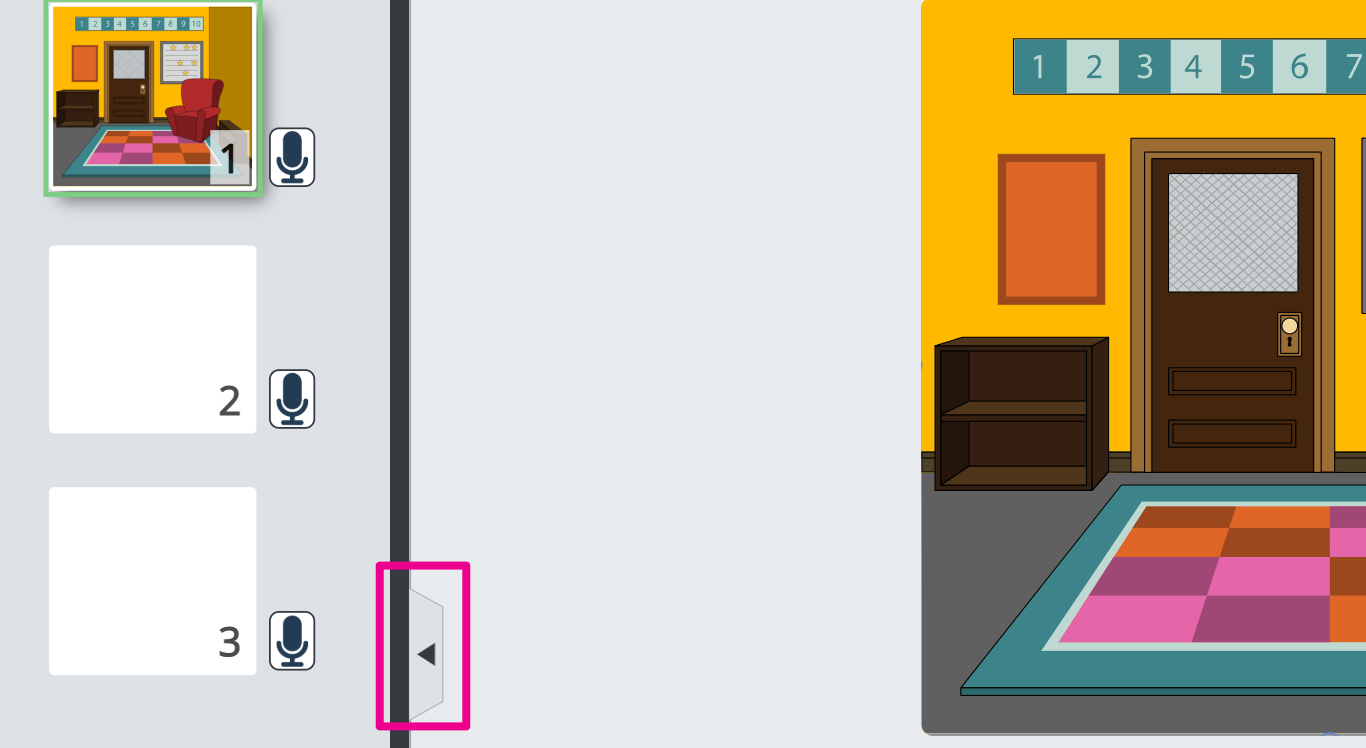
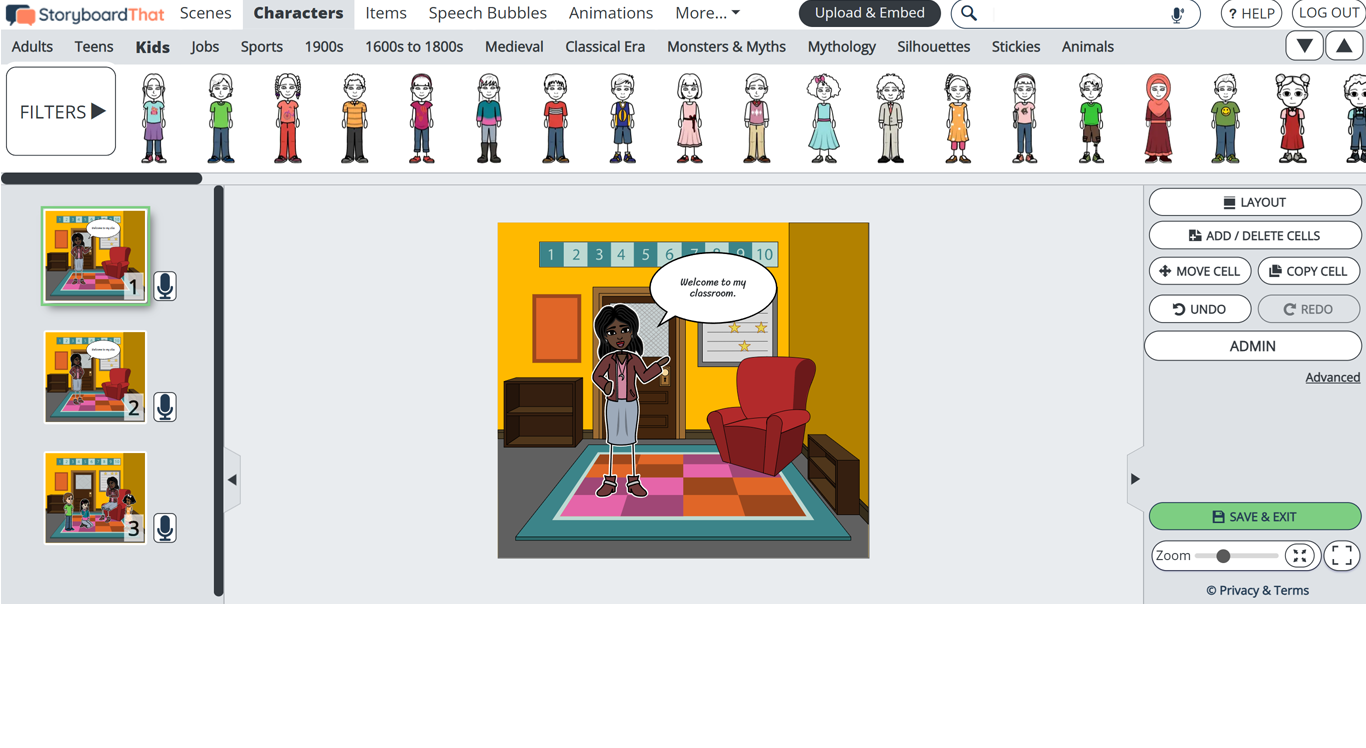
This is the first cell of your new storyboard. All new storyboards are 3 cells long. Switch between Single Cell View and Full Storyboard View with these buttons on the left menu 👇
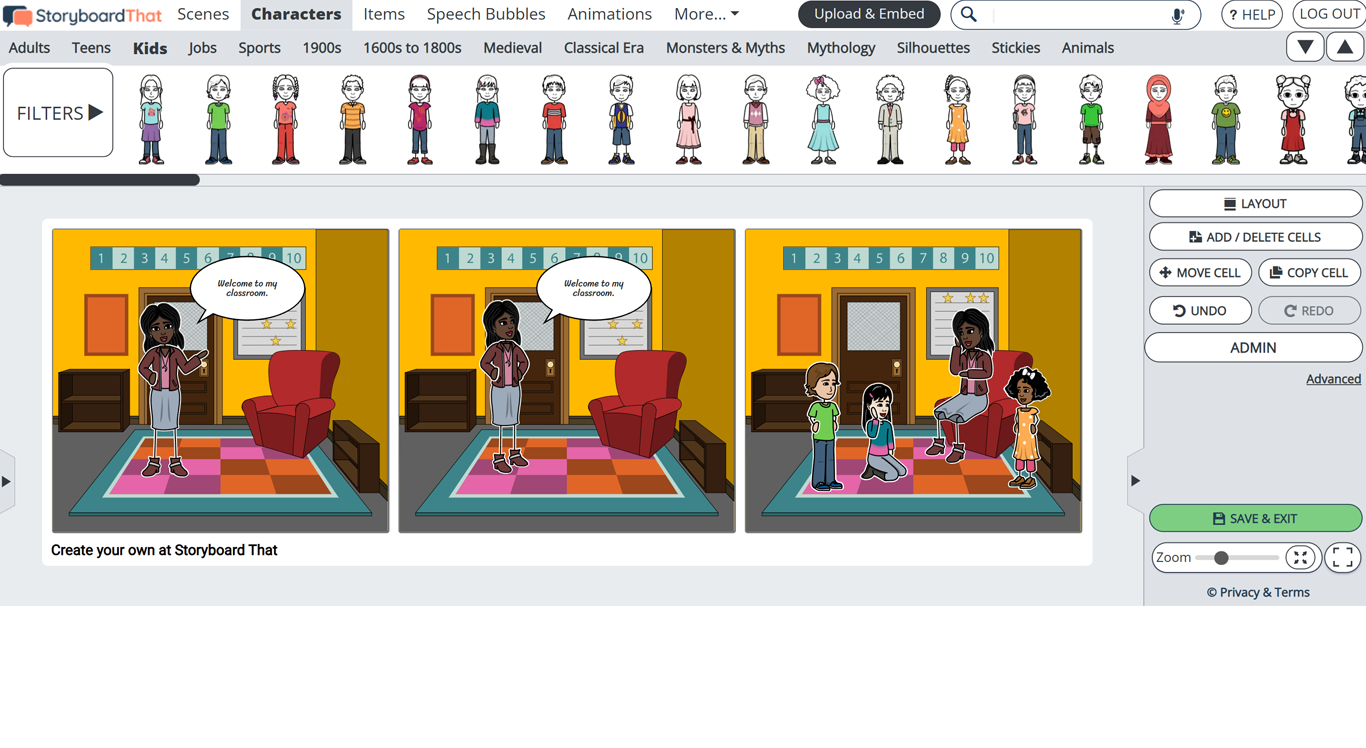
Full Storyboard View:
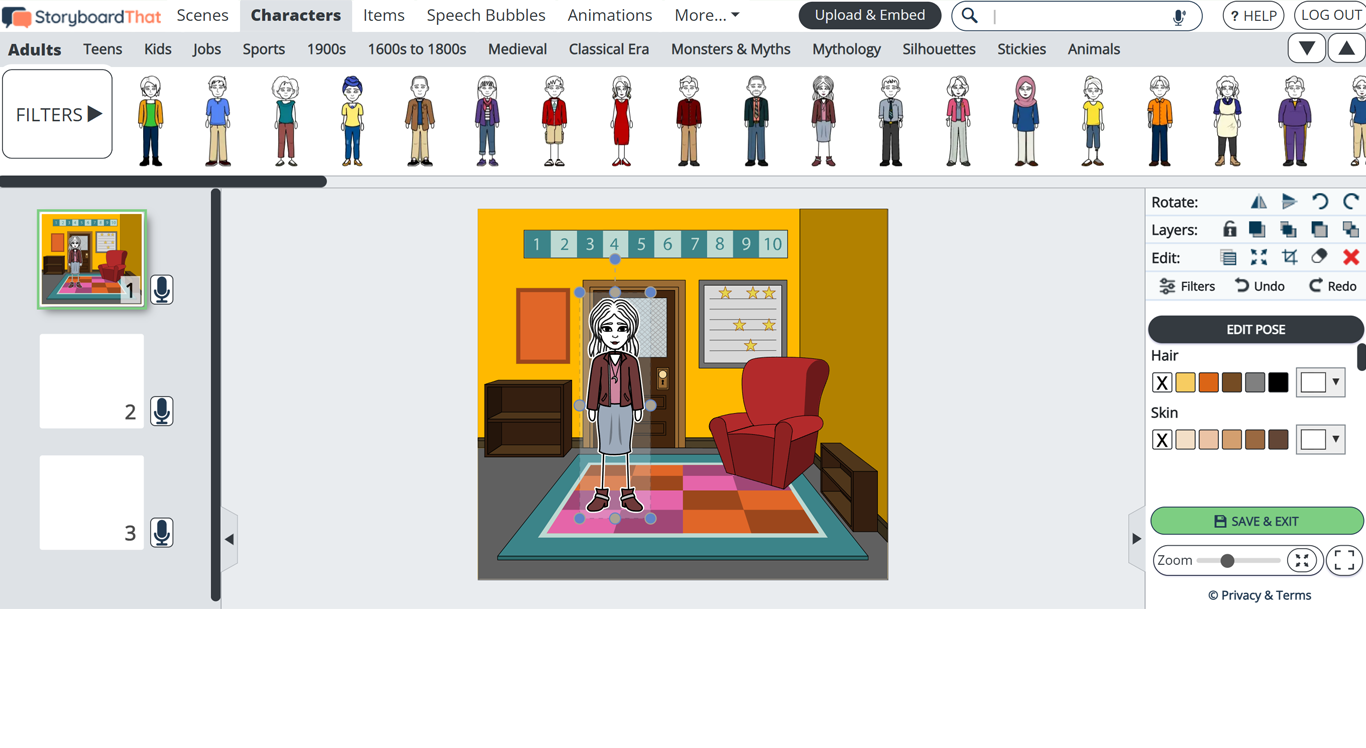
4. Choose a Character
Click on the Characters tab at the top. Select a character and drag it down to a cell. You can customize the character by changing the colors.
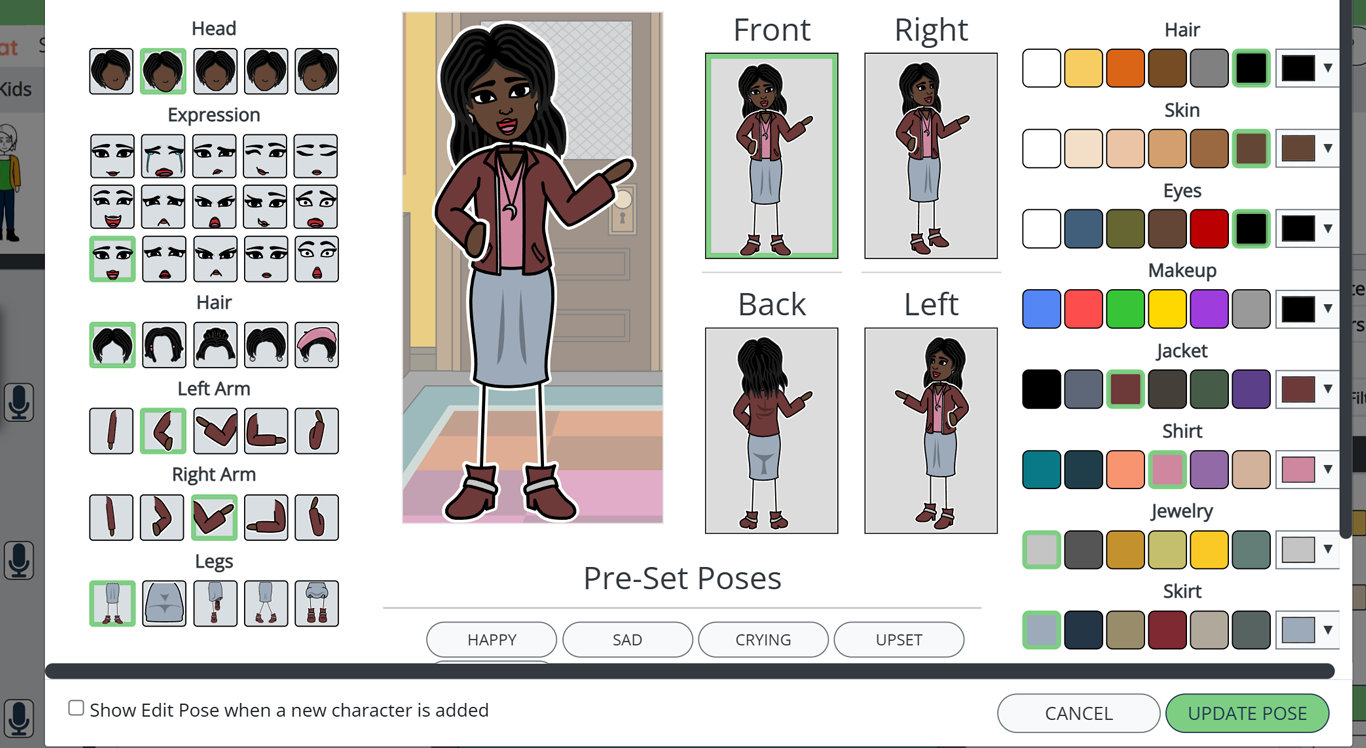
5. Edit Pose
With the character selected, click on the blue Edit Pose button and customize the character pose. When finished, click Update Pose.
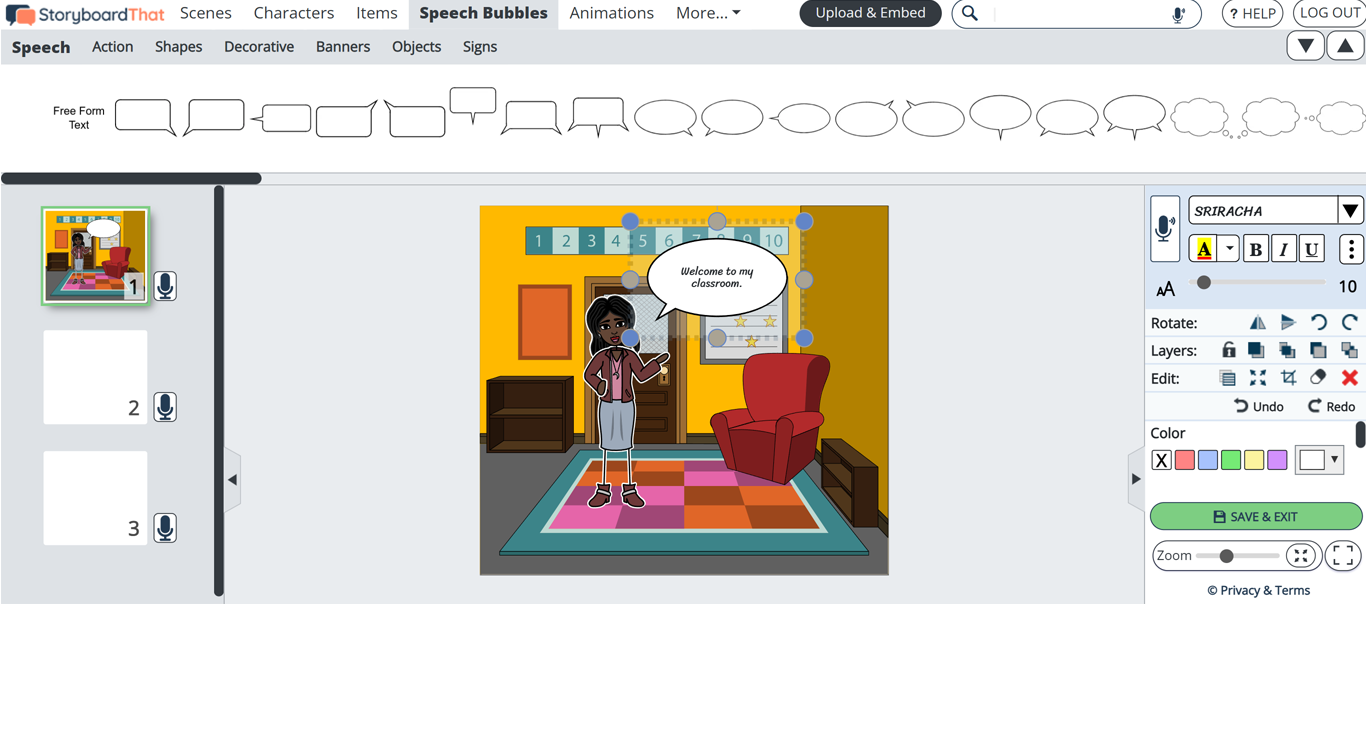
6. Choose a Speech Bubble
Click on the Speech Bubbles Tab at the top. Choose a speech bubble and drag it down to your character. Type something in the text editor.
7. Keep Going!
Keep working on your storyboard by adding in more scenes, characters, and speech bubbles.
Single Cell View:
Full Storyboard View:
8. Save & Exit
When you're done, click Save & Exit to save your most recent storyboard version and exit the Storyboard Creator.
Have a specific concern? Contact our staff at support@storyboardthat.com. 😊
How did we do?
Getting Started Video